
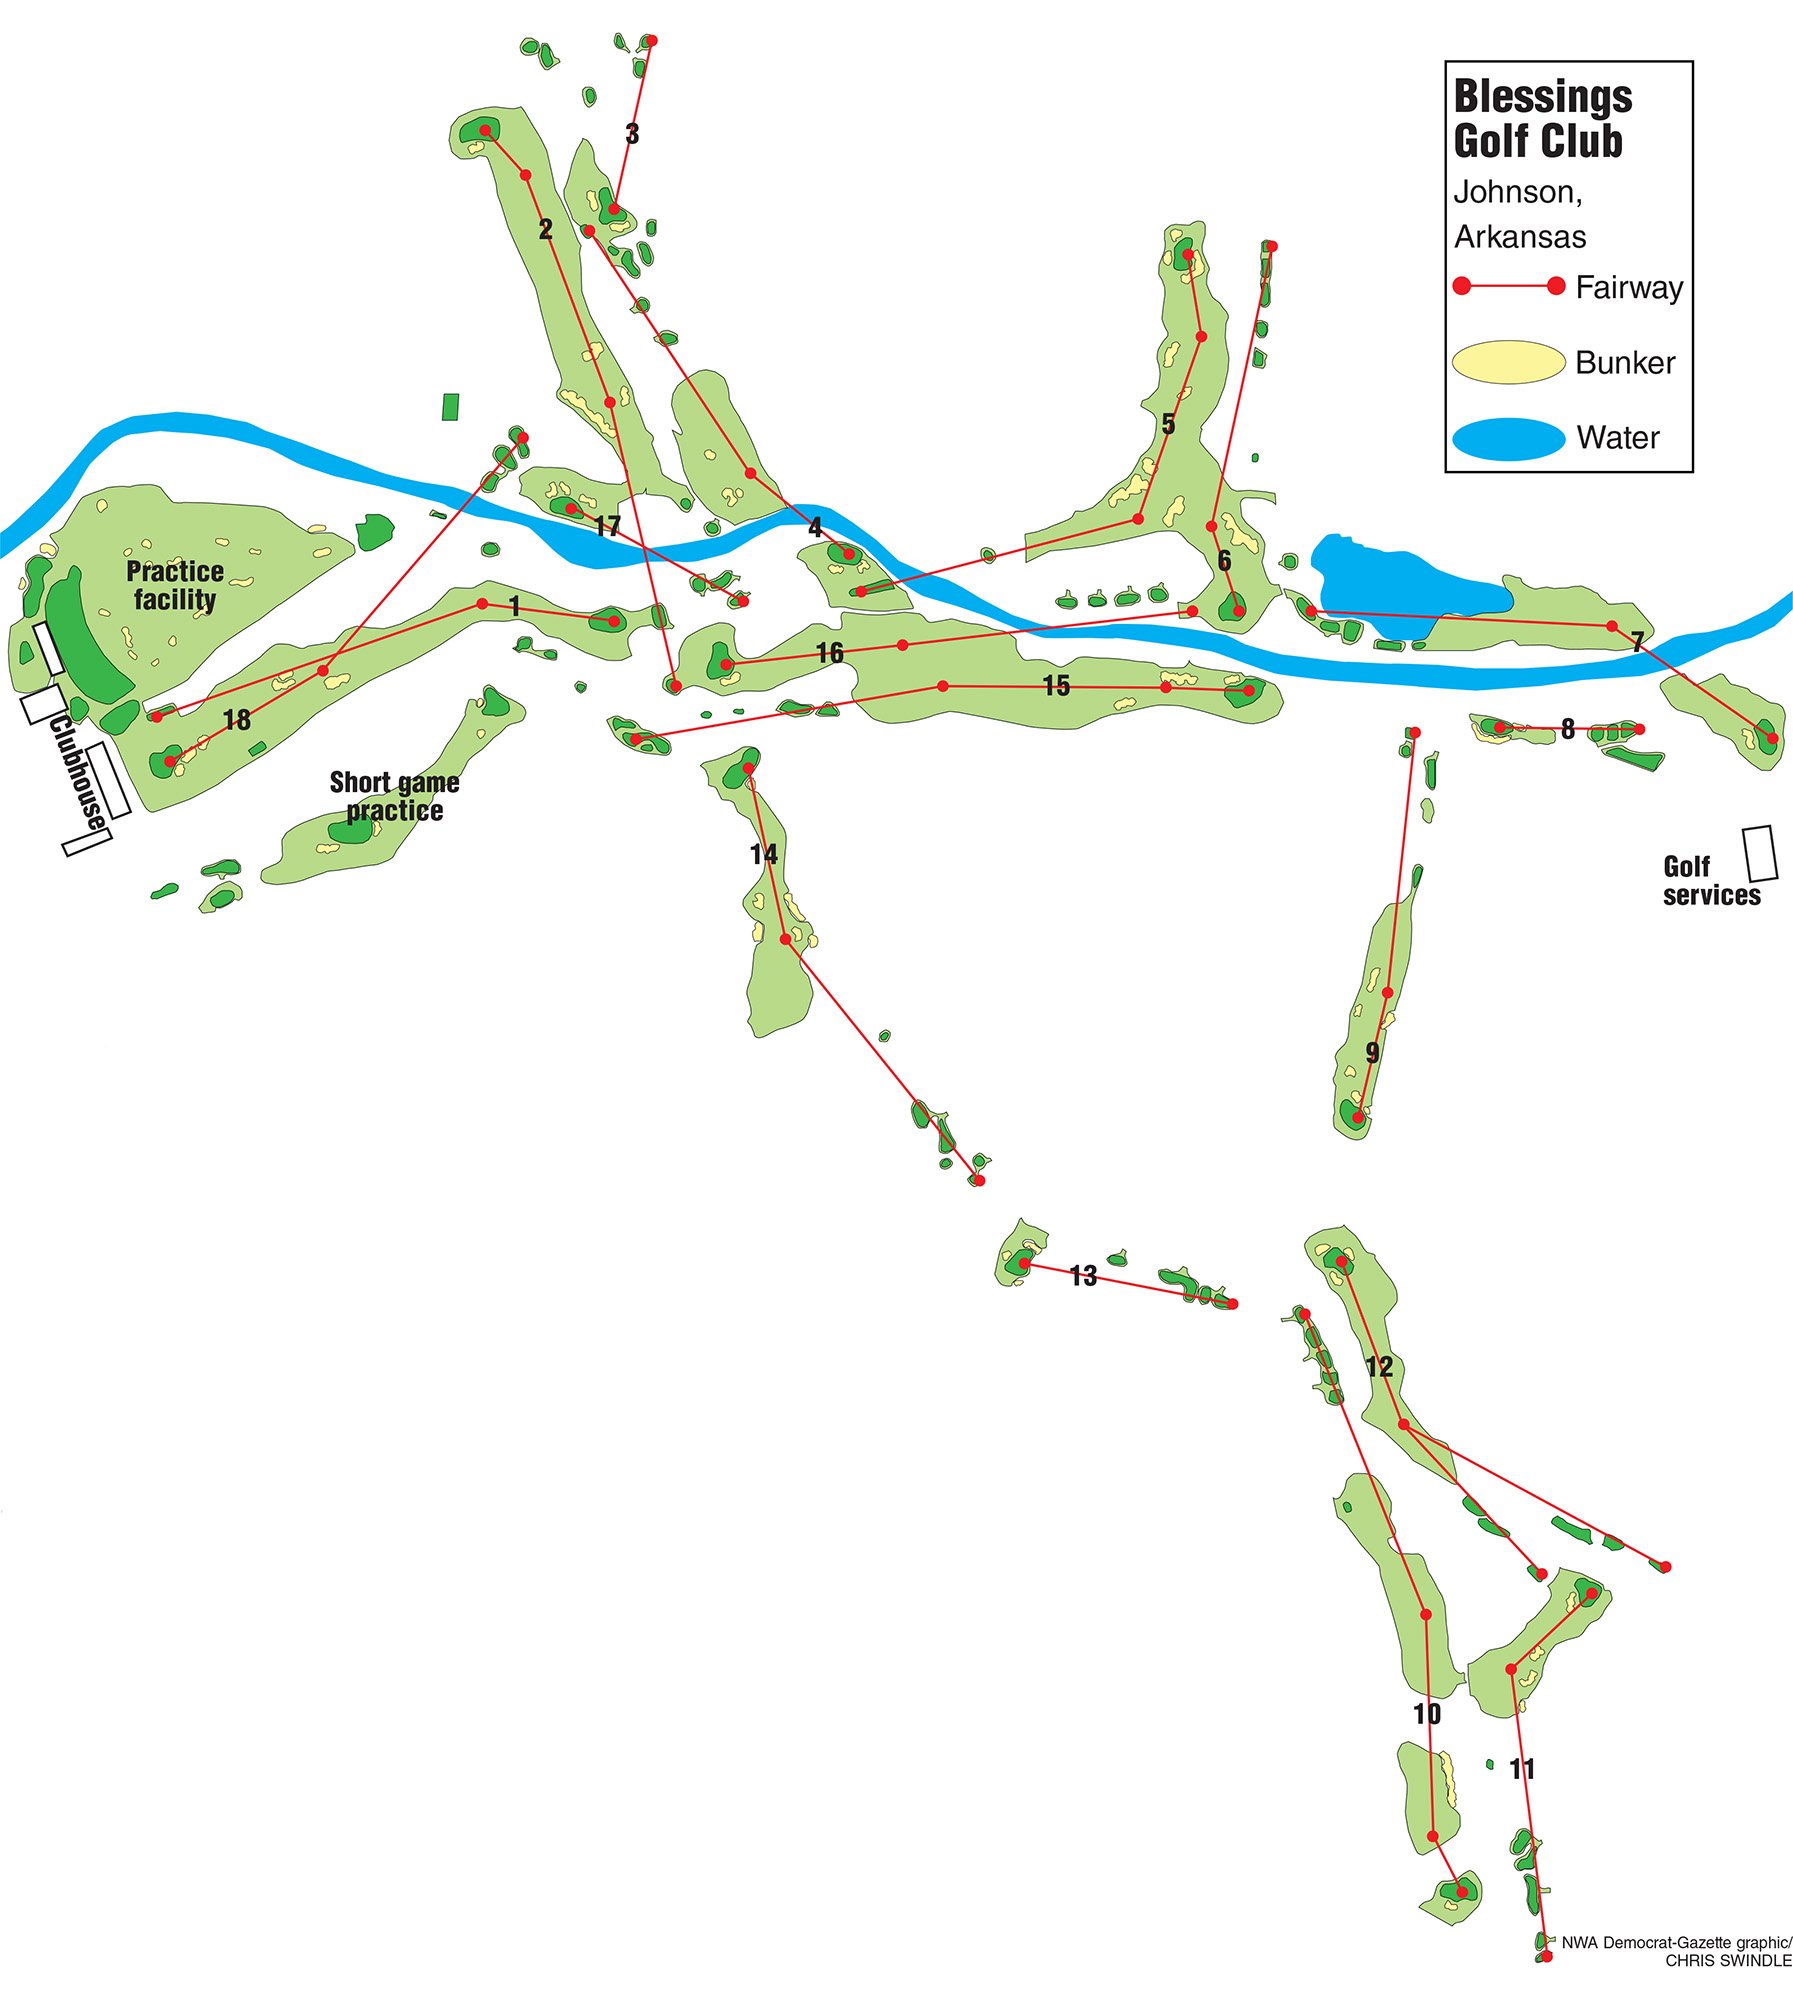
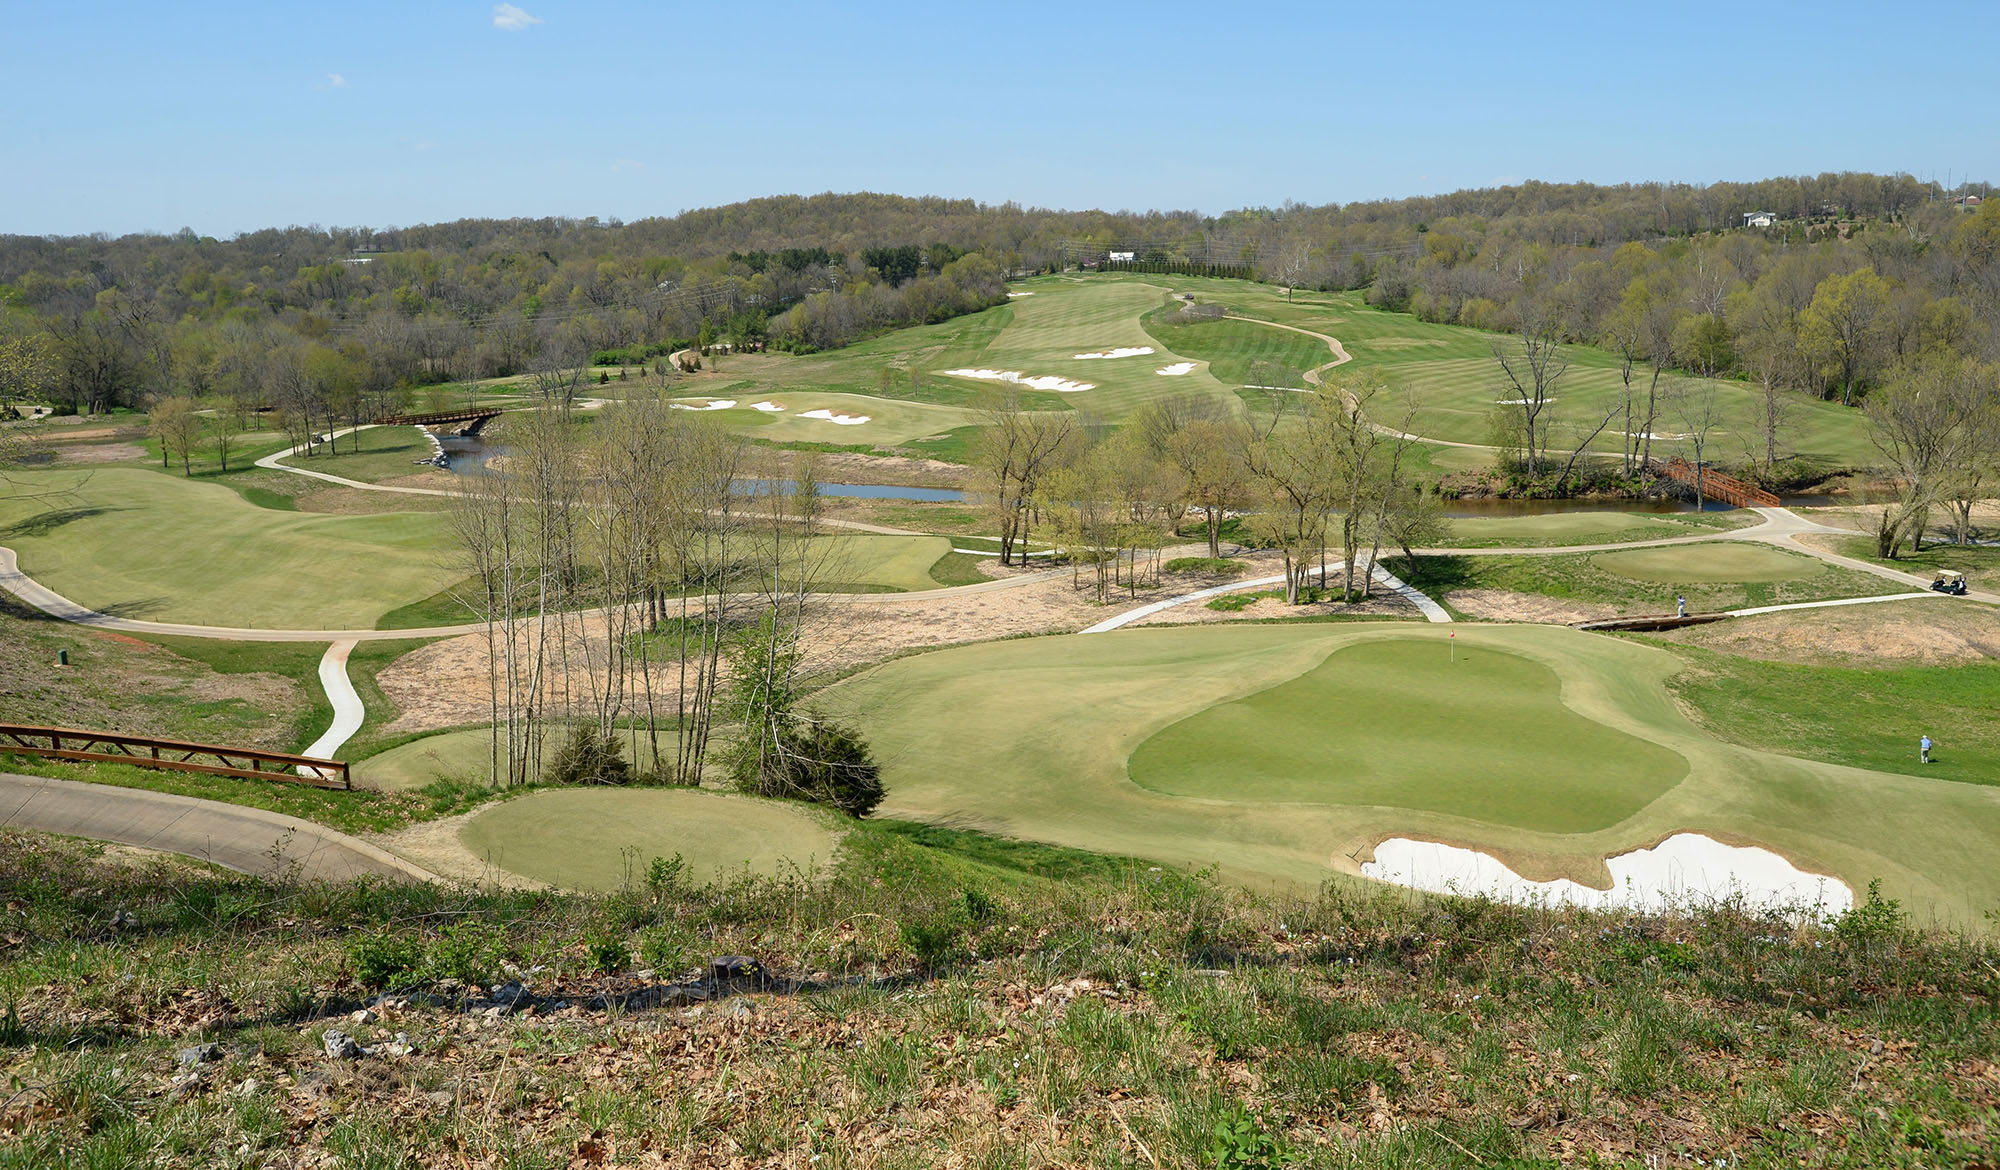
Hole 1
The long par 4 first hole is one of the most demanding holes on the course. The fairways on 1 and 18 cross, which provides a unique dynamic at the beginning and end of each round. The tee shot must be accurately placed between the wetlands and the tree line and hit long enough to reach the corner of the dogleg. Players choosing a conservative line down the right may not have a clear shot to the green, which is positioned along Clear Creek.
Hole 2
The tee shot on this par 5 must be placed between groups of bunkers to be in position to hit an aggressive uphill second shot. The upper landing area has a fairway that slopes from right to left into a wide green with significant movement. The green is open in the front which allows players the opportunity to run the ball onto the putting surface in two.
Hole 3
The par 3 third hole has a difficult green complex that is nestled along a pond on the left and guarded by deep bunkers on the right and rear. Two separate teeing areas provide variety and substantially different angles of play.
Hole 4
This medium length par 4 requires an accurate tee shot that must challenge a bunker complex on the right to provide the optimum line of play for the second shot. The relatively small green has several demanding hole locations and is situated along a tall rock wall on Clear Creek.
Hole 5
This sweeping dogleg left par 5 requires a long and well-positioned tee shot on the inside of the dogleg to provide a chance to reach the green in two. The elevated green has a lot of movement and is well protected by deep greenside bunkers and a large tree in the right-center of the fairway.
Hole 6
Depending on the tee location, the short par 4 may be drivable with a tee shot long enough to carry the cross bunker. While there are no bunkers protecting the elevated green, the false front and steep slopes require an accurate approach shot.
Hole 7
The long dogleg right par 4 plays along Clear Creek on the right side of the hole. The sloping fairway leaves a shot across the creek to a difficult putting surface.
Hole 8
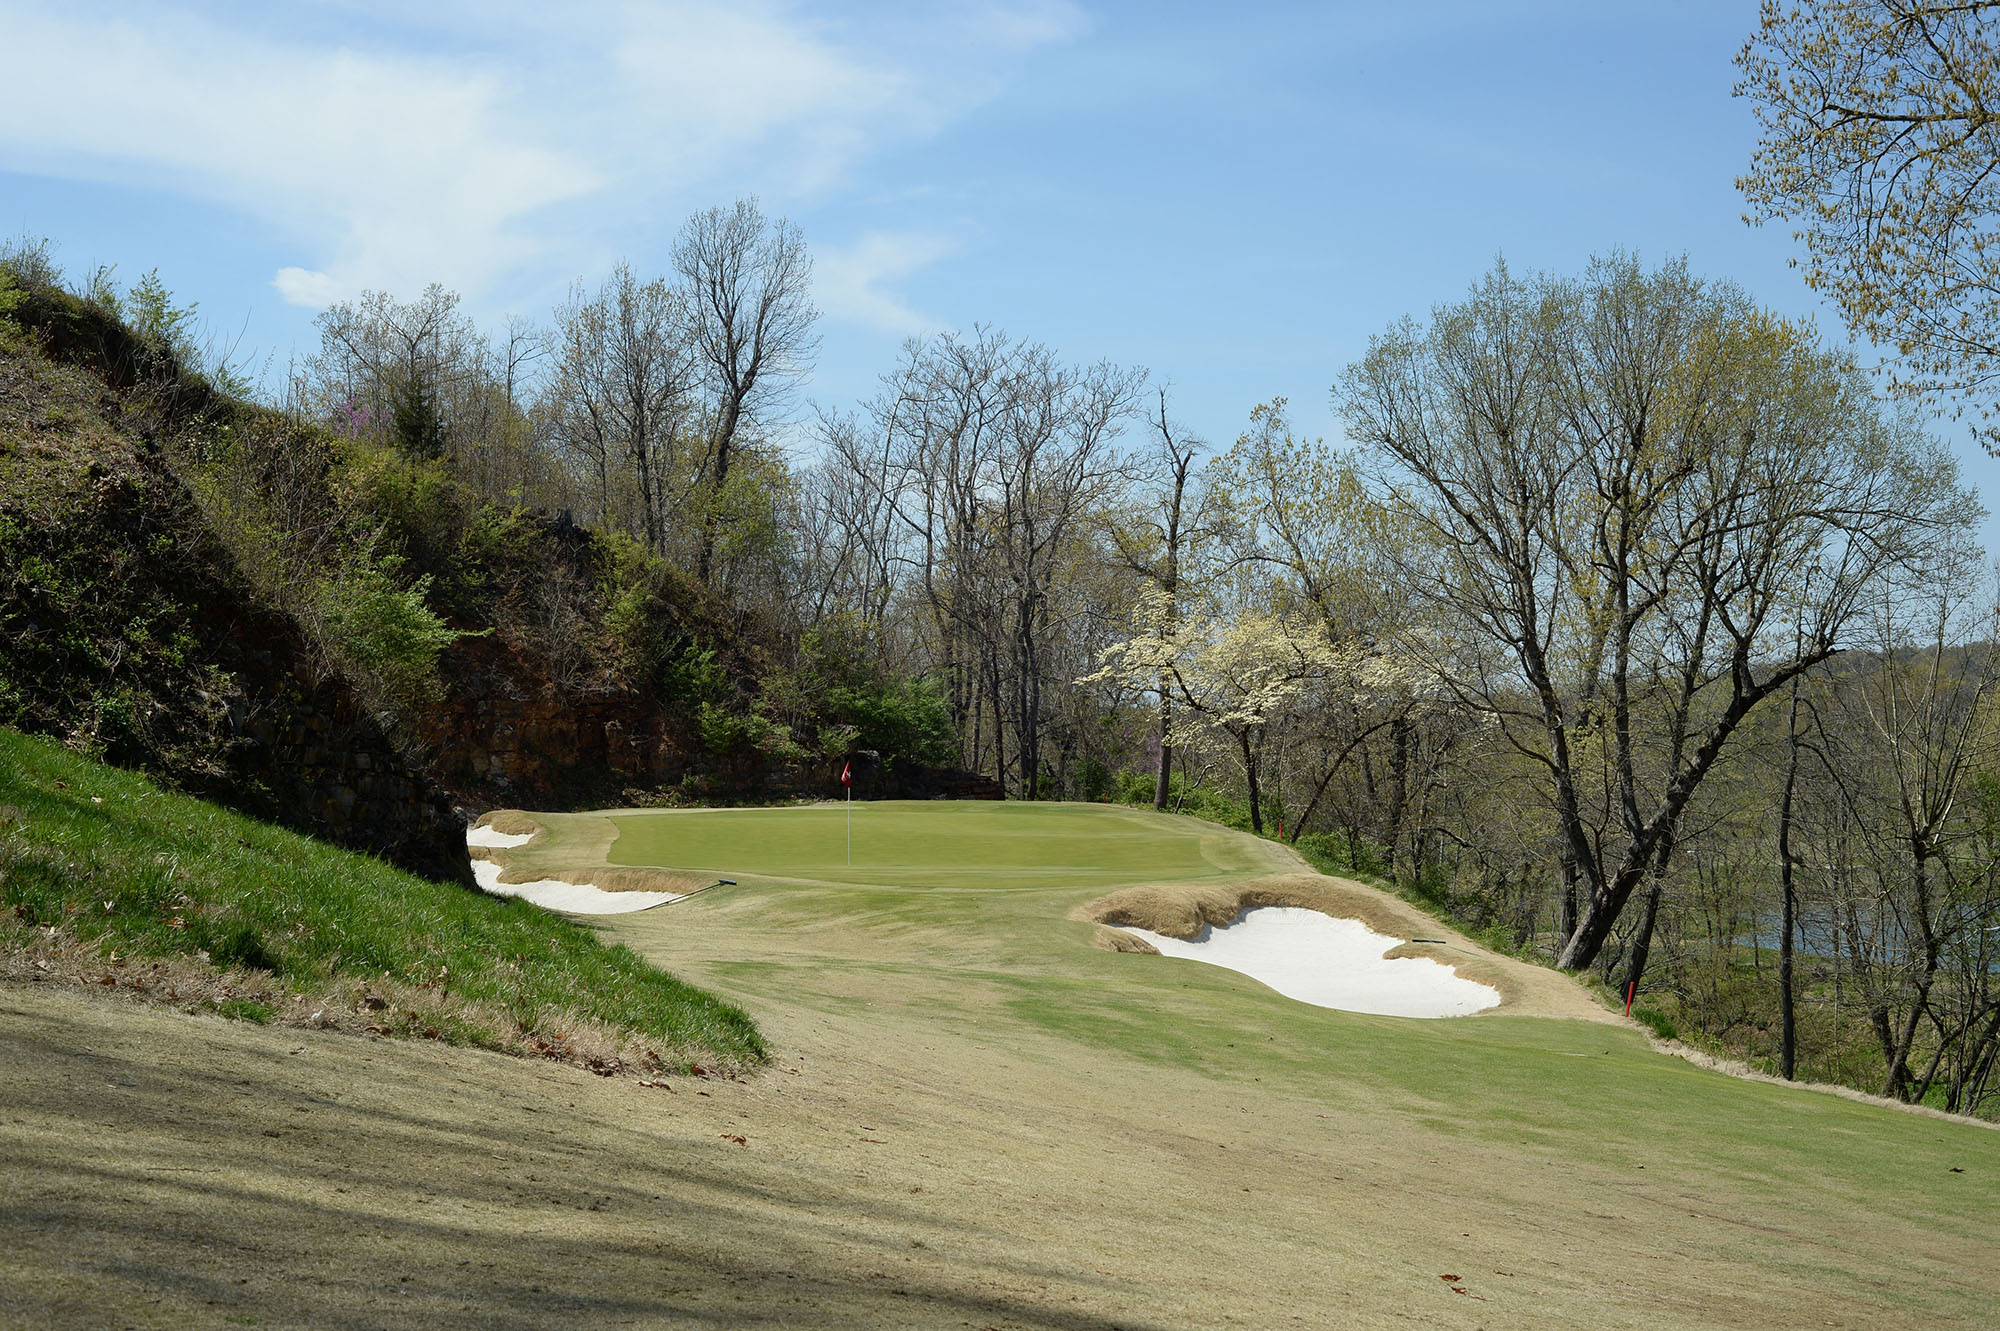
The green on this short par 3 is in a rock quarry with a steep drop-off into Clear Creek on the right. It is one of the most picturesque holes on the course, but an accurate short iron is required to avoid trouble around the well-contoured green.
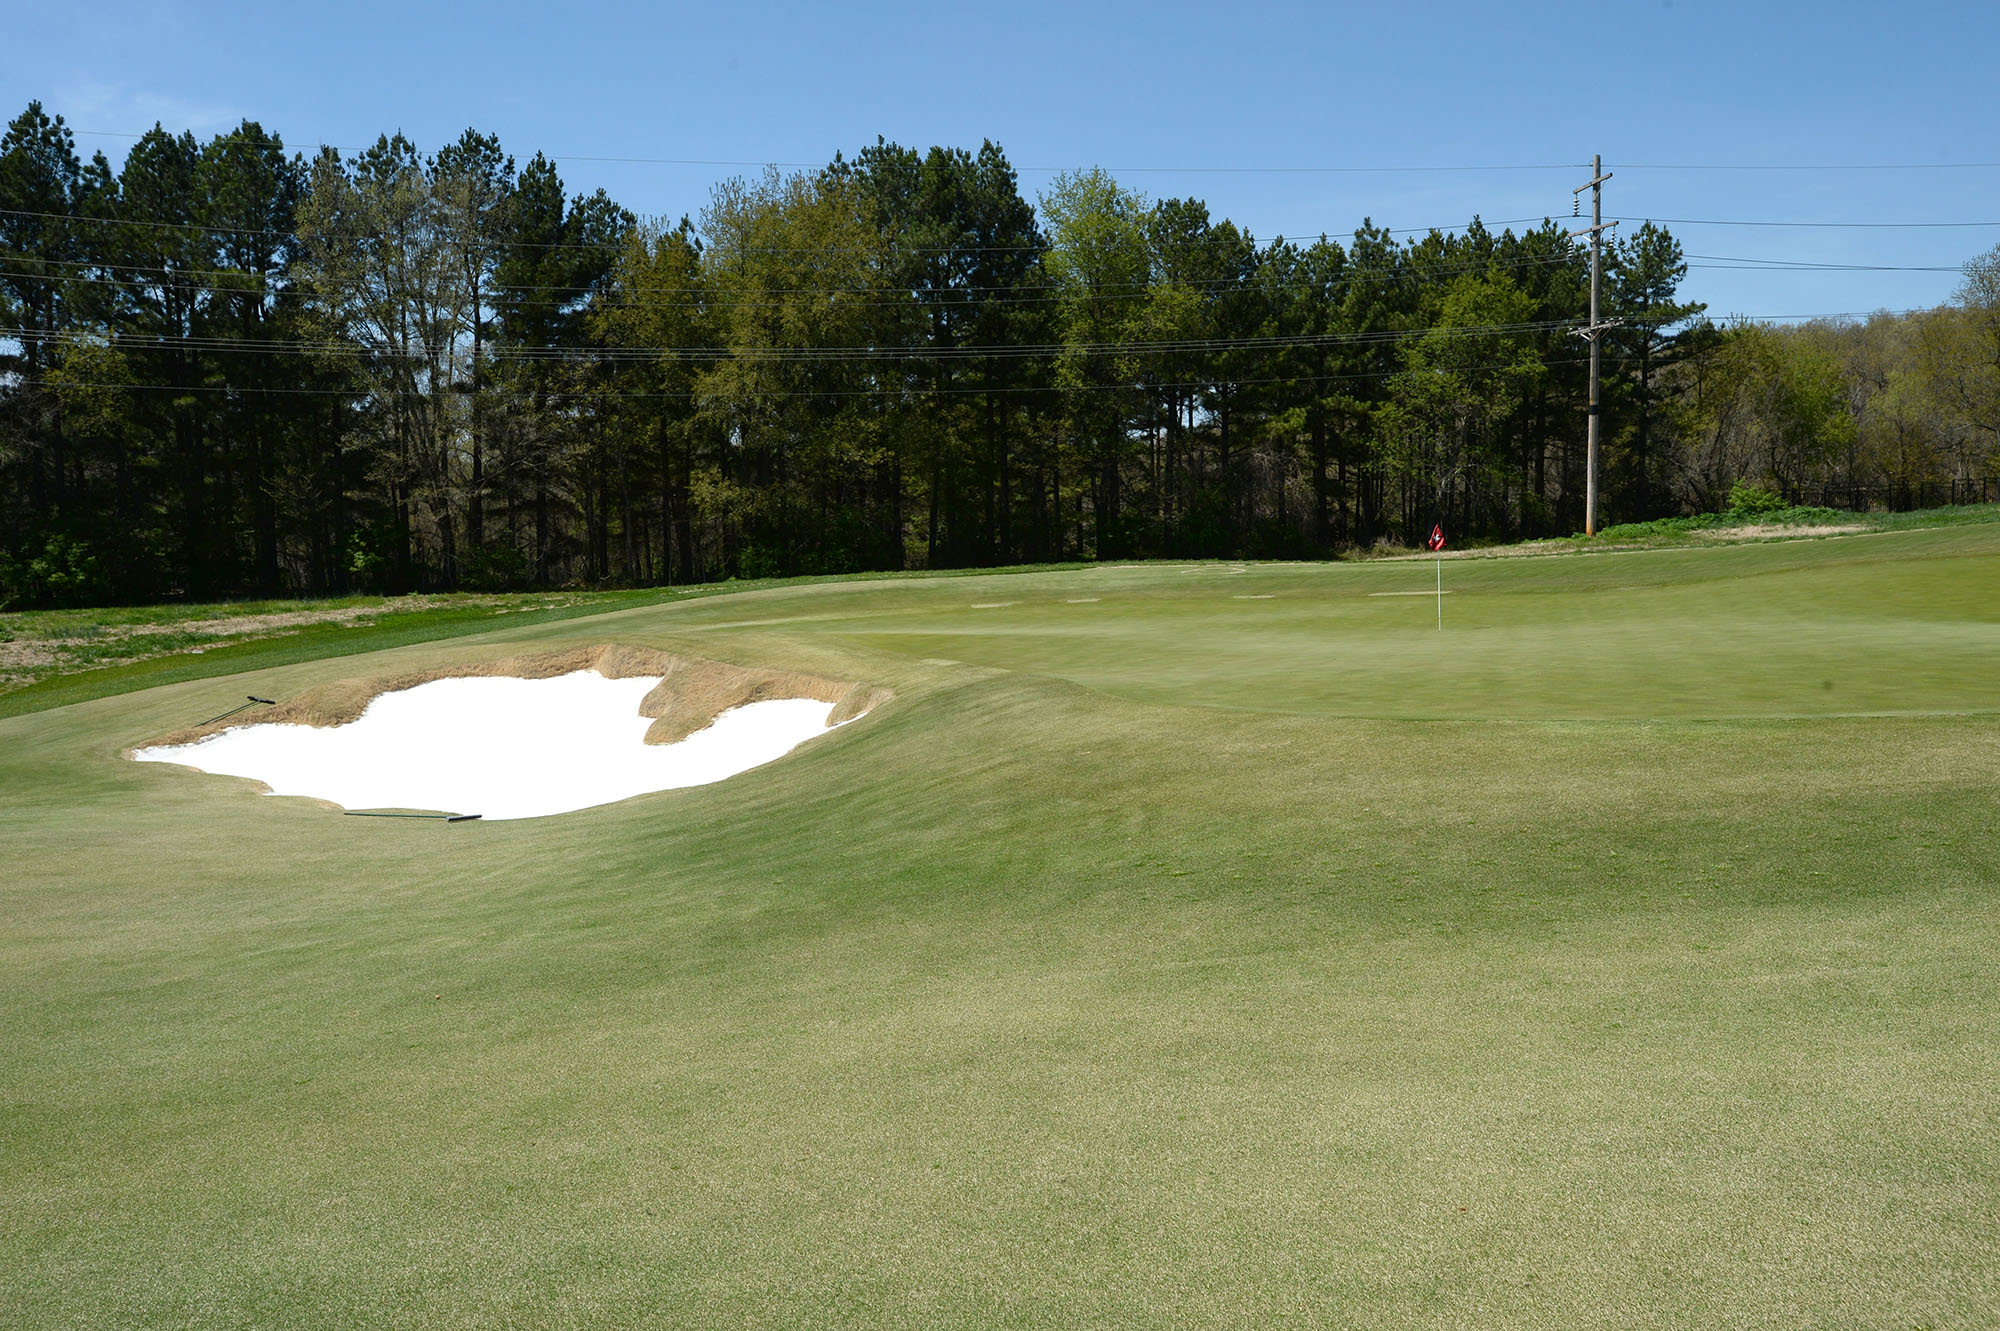
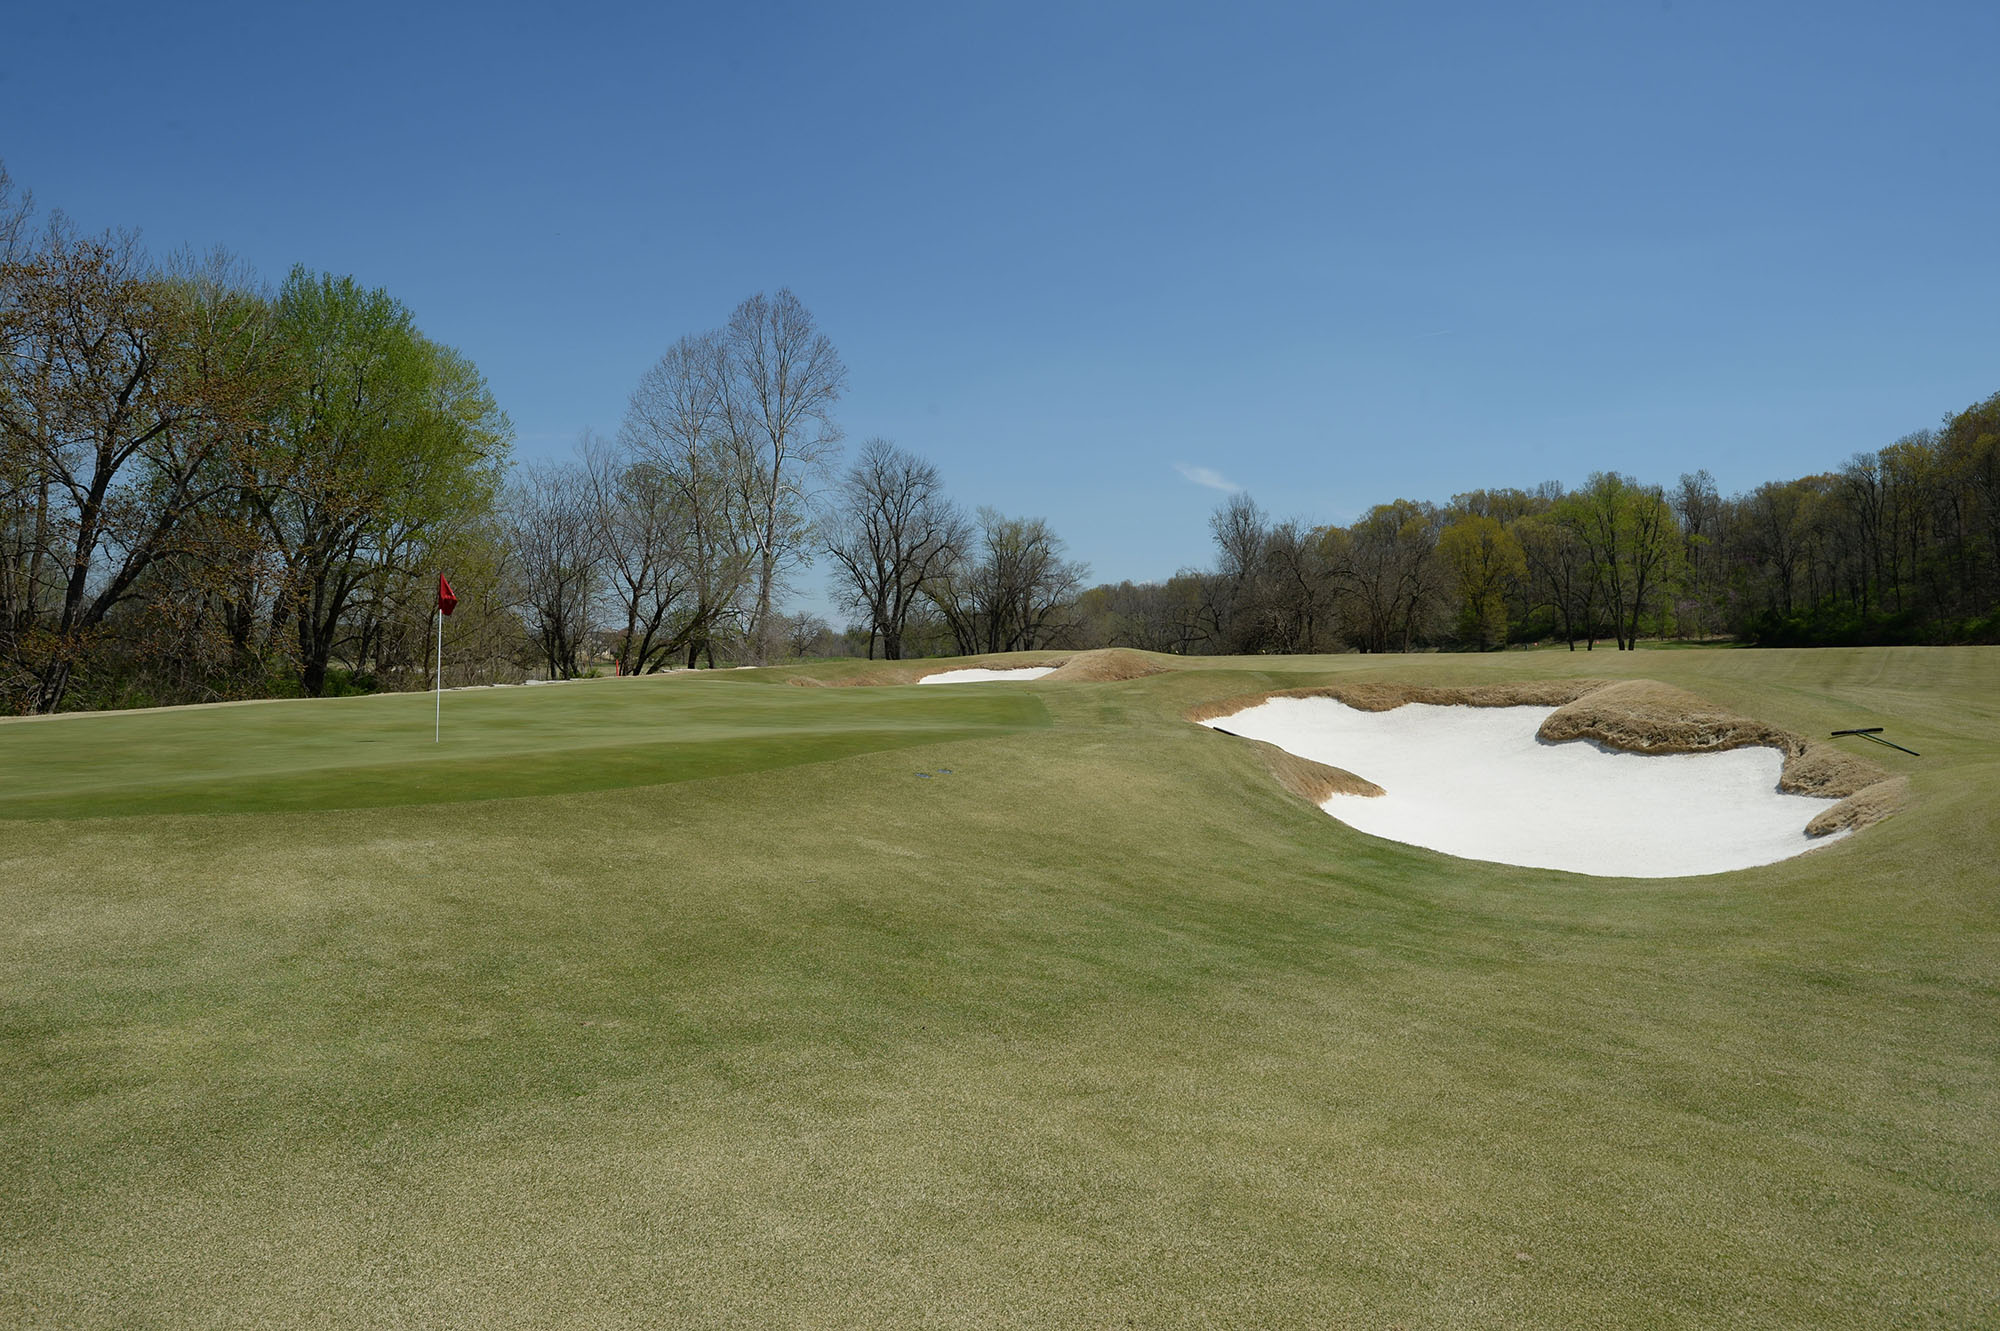
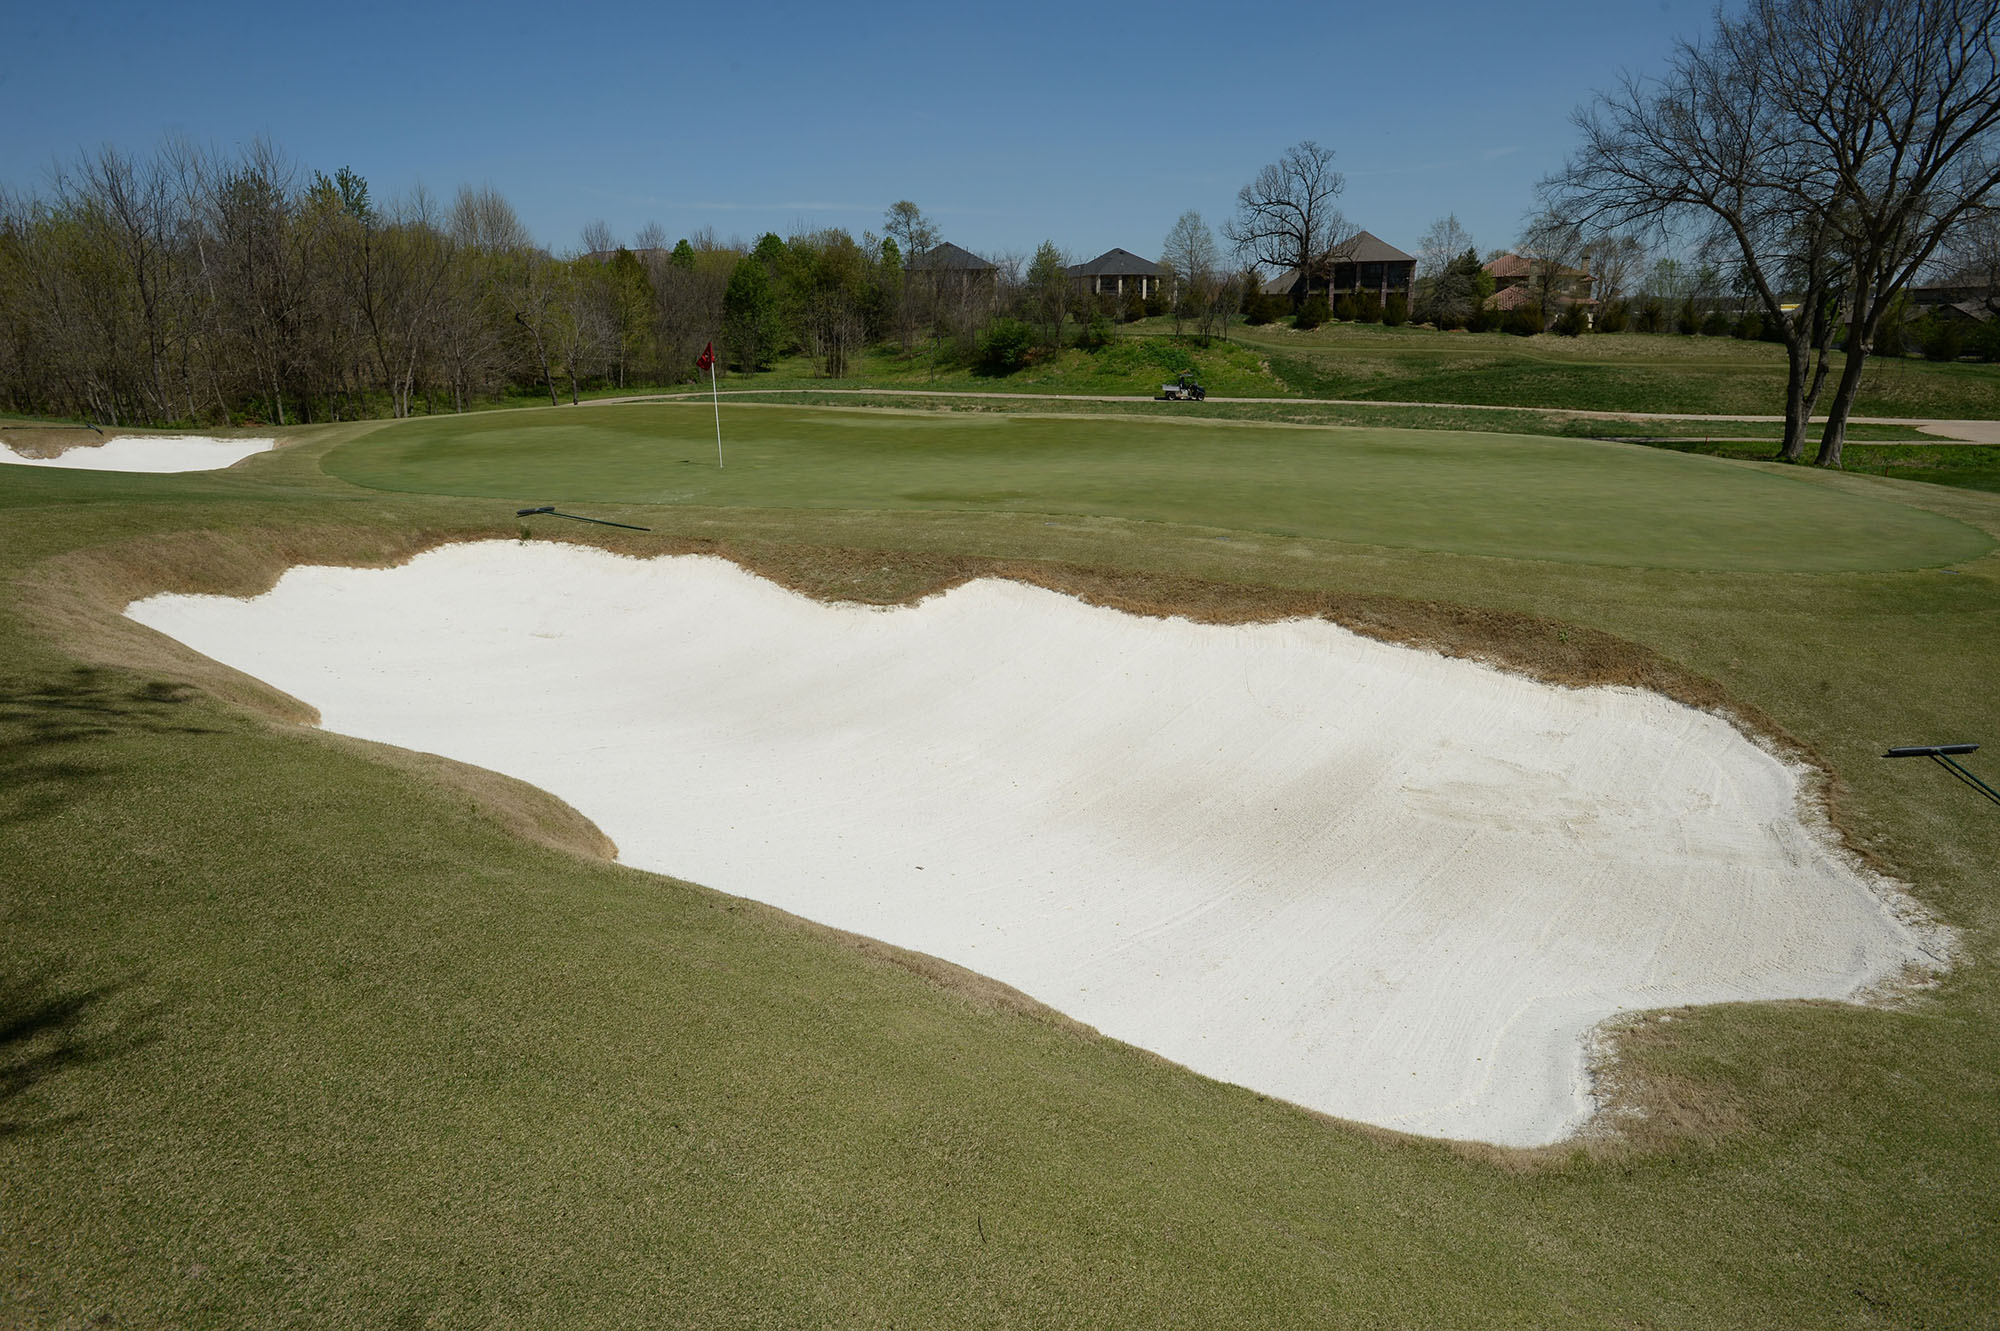
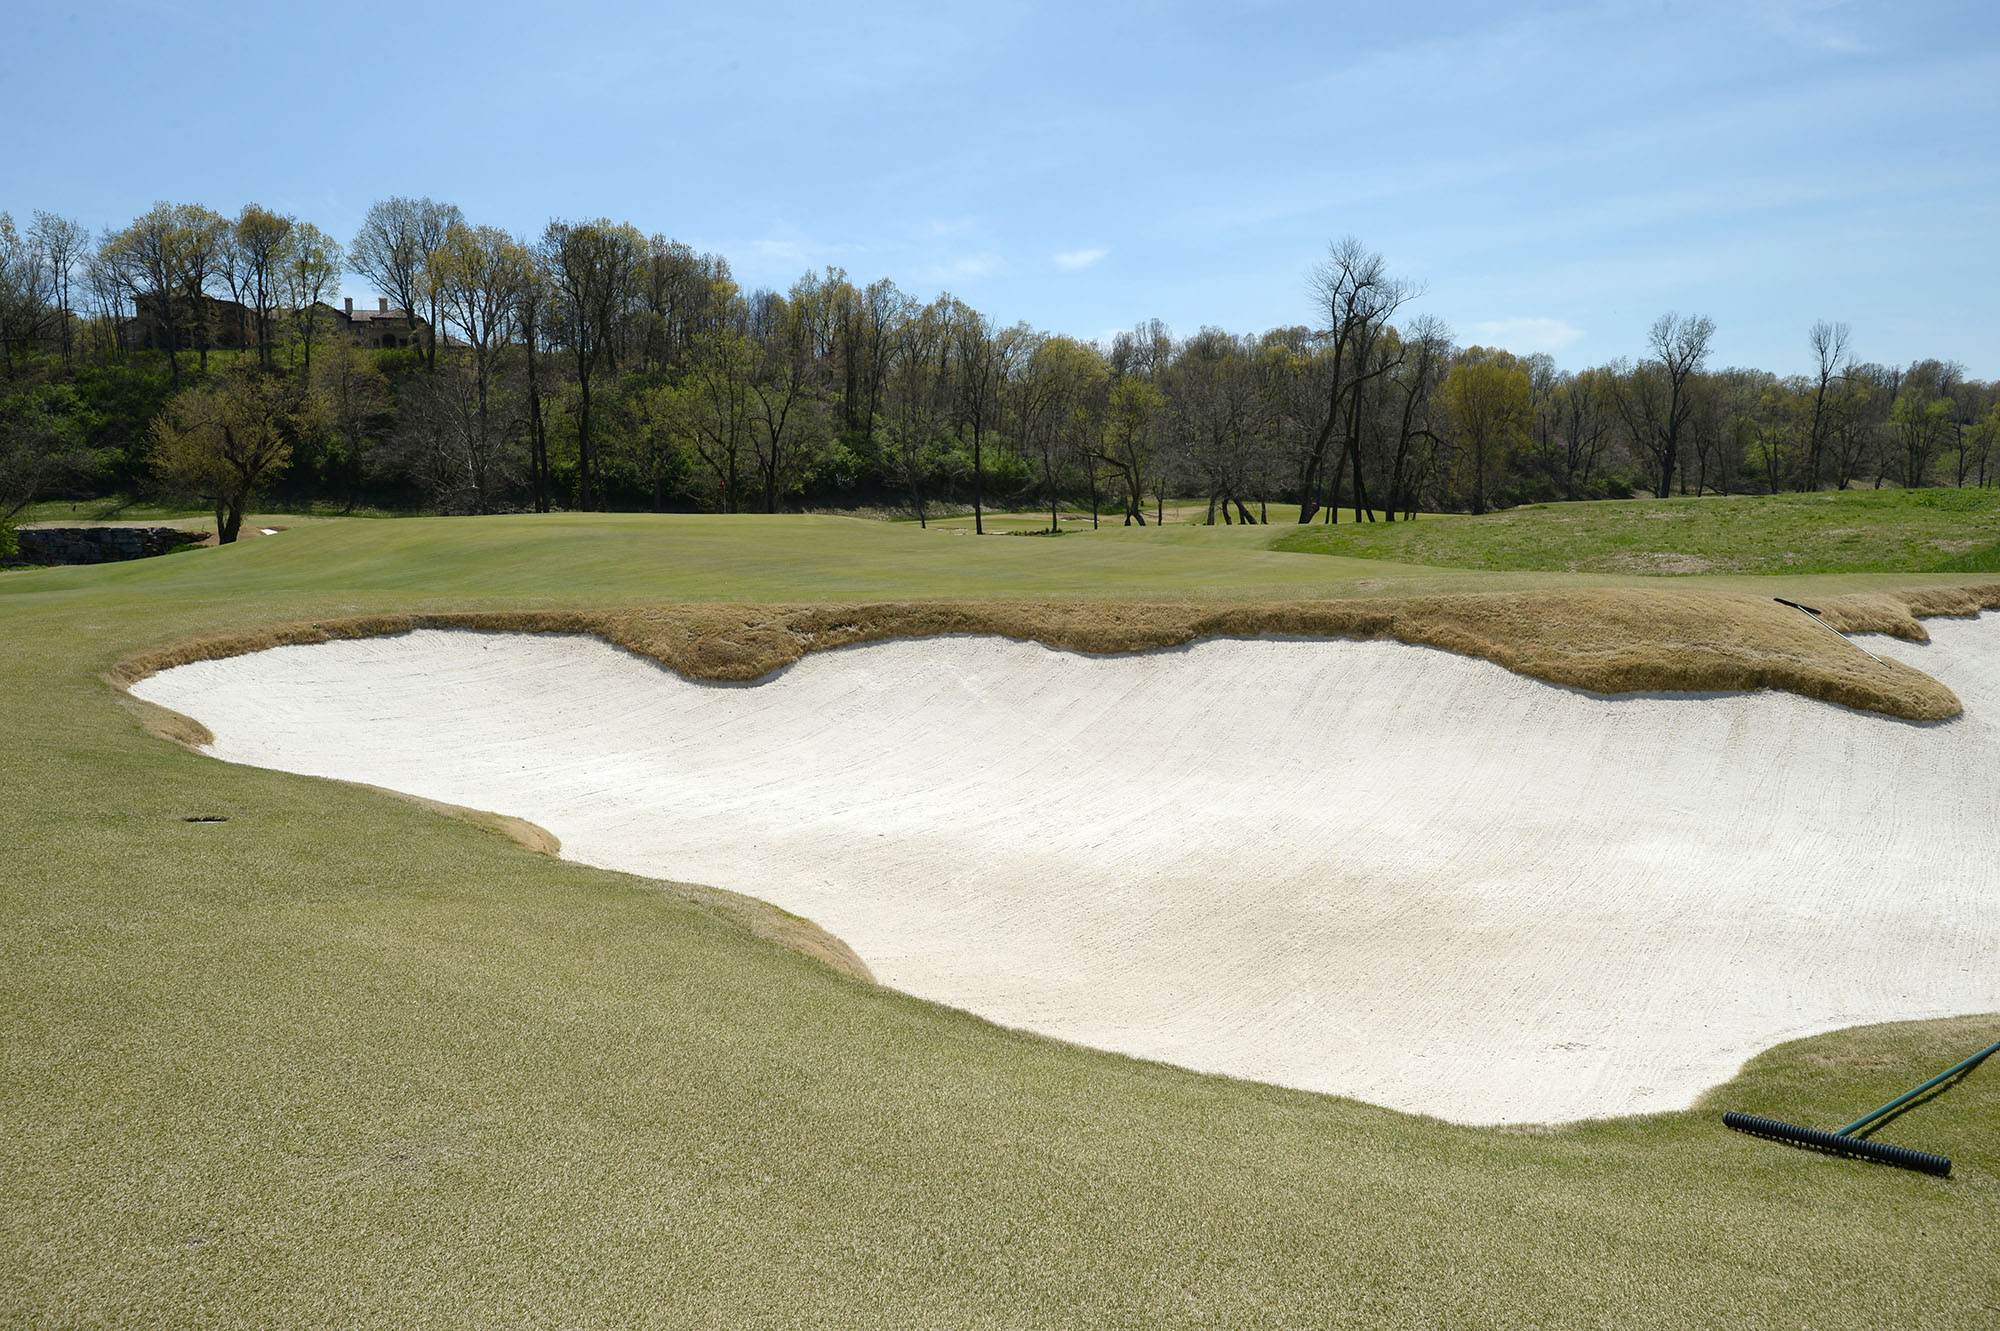
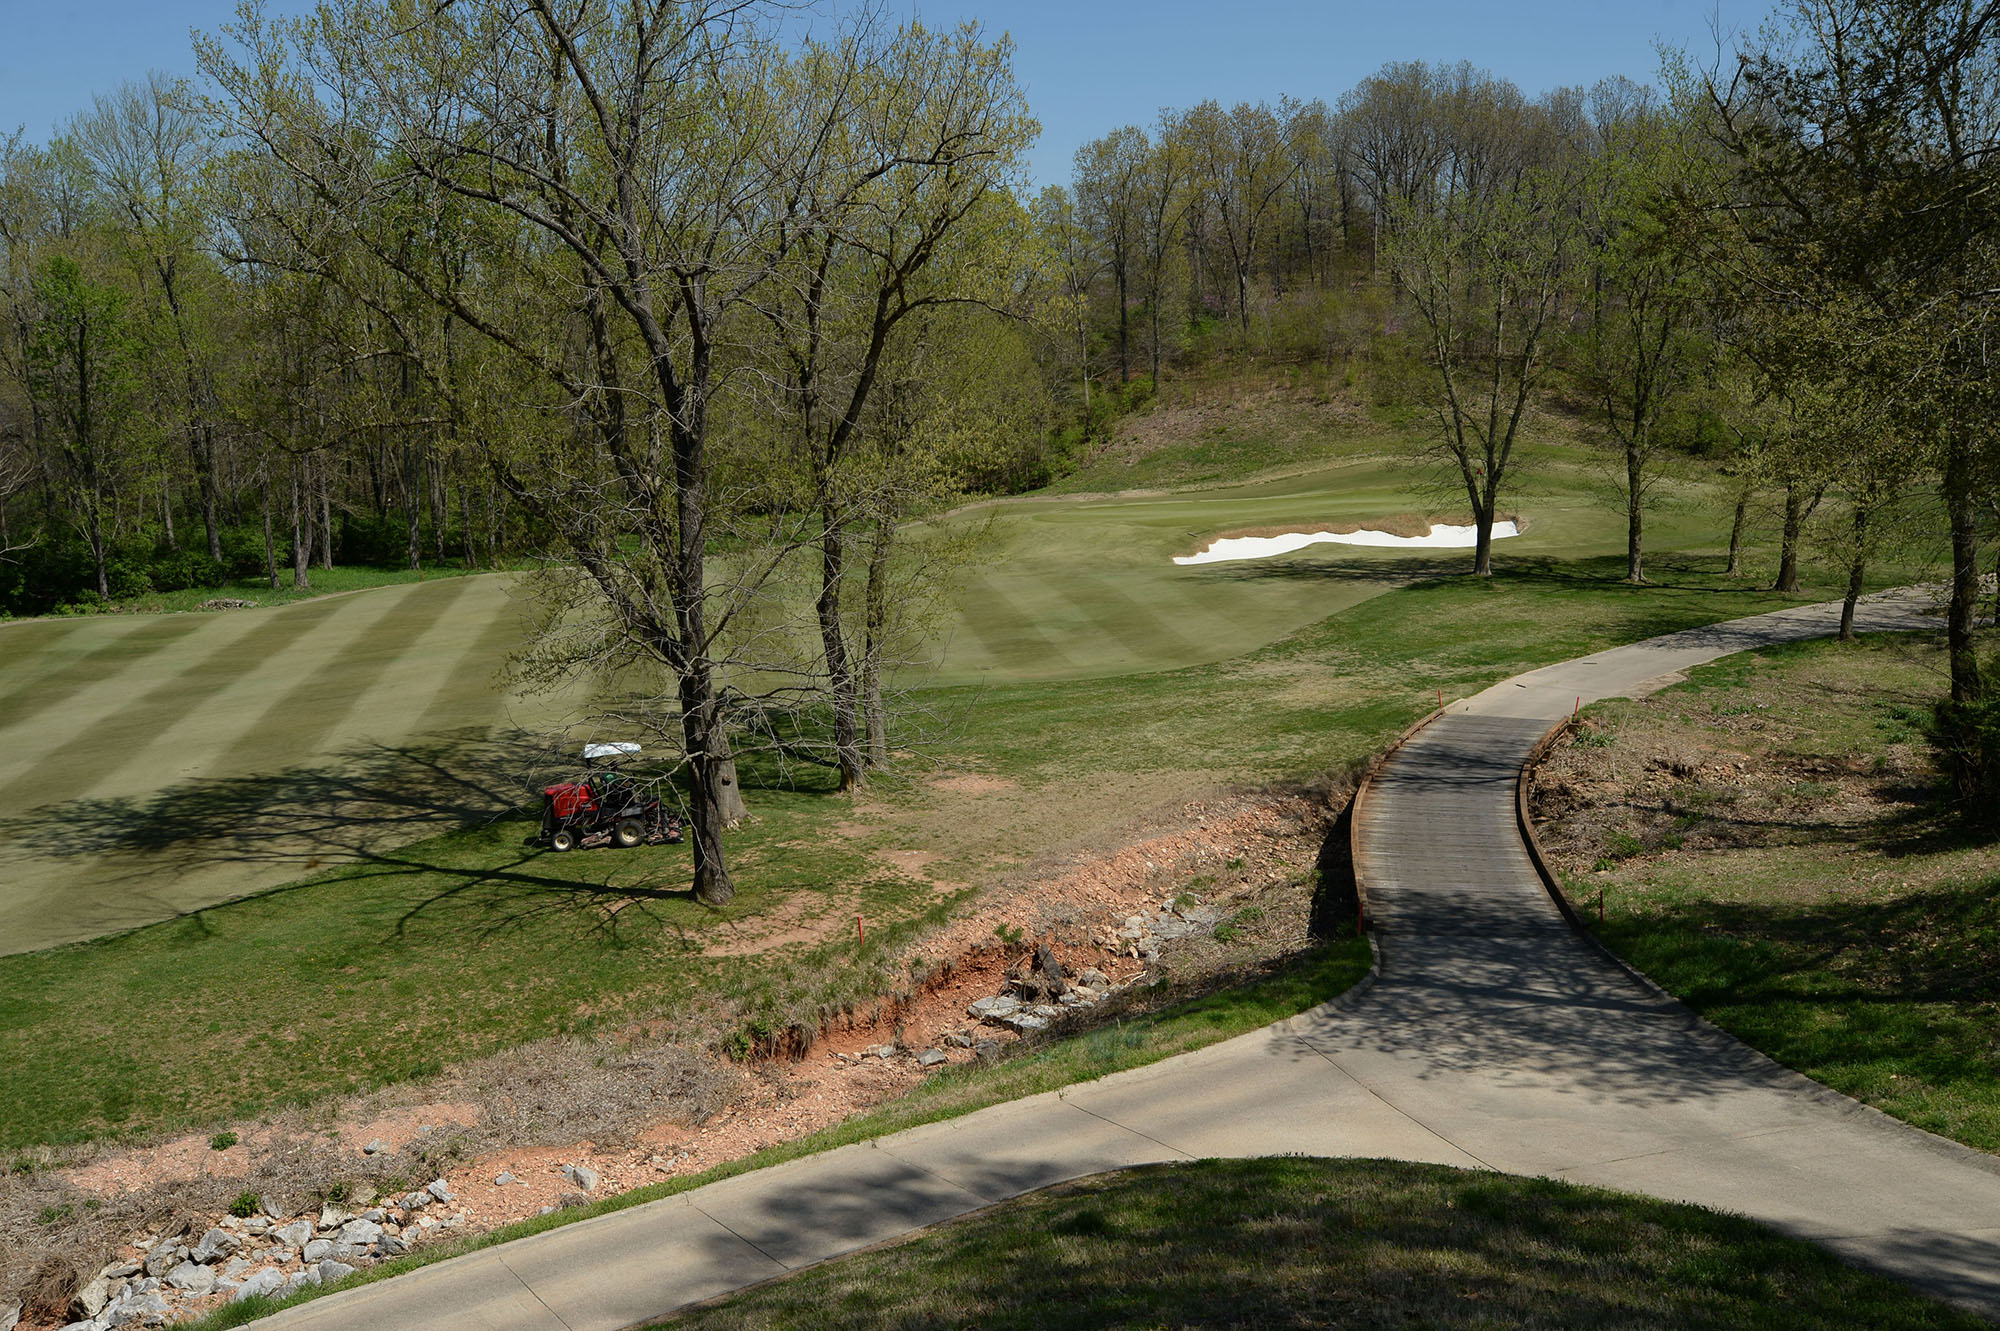
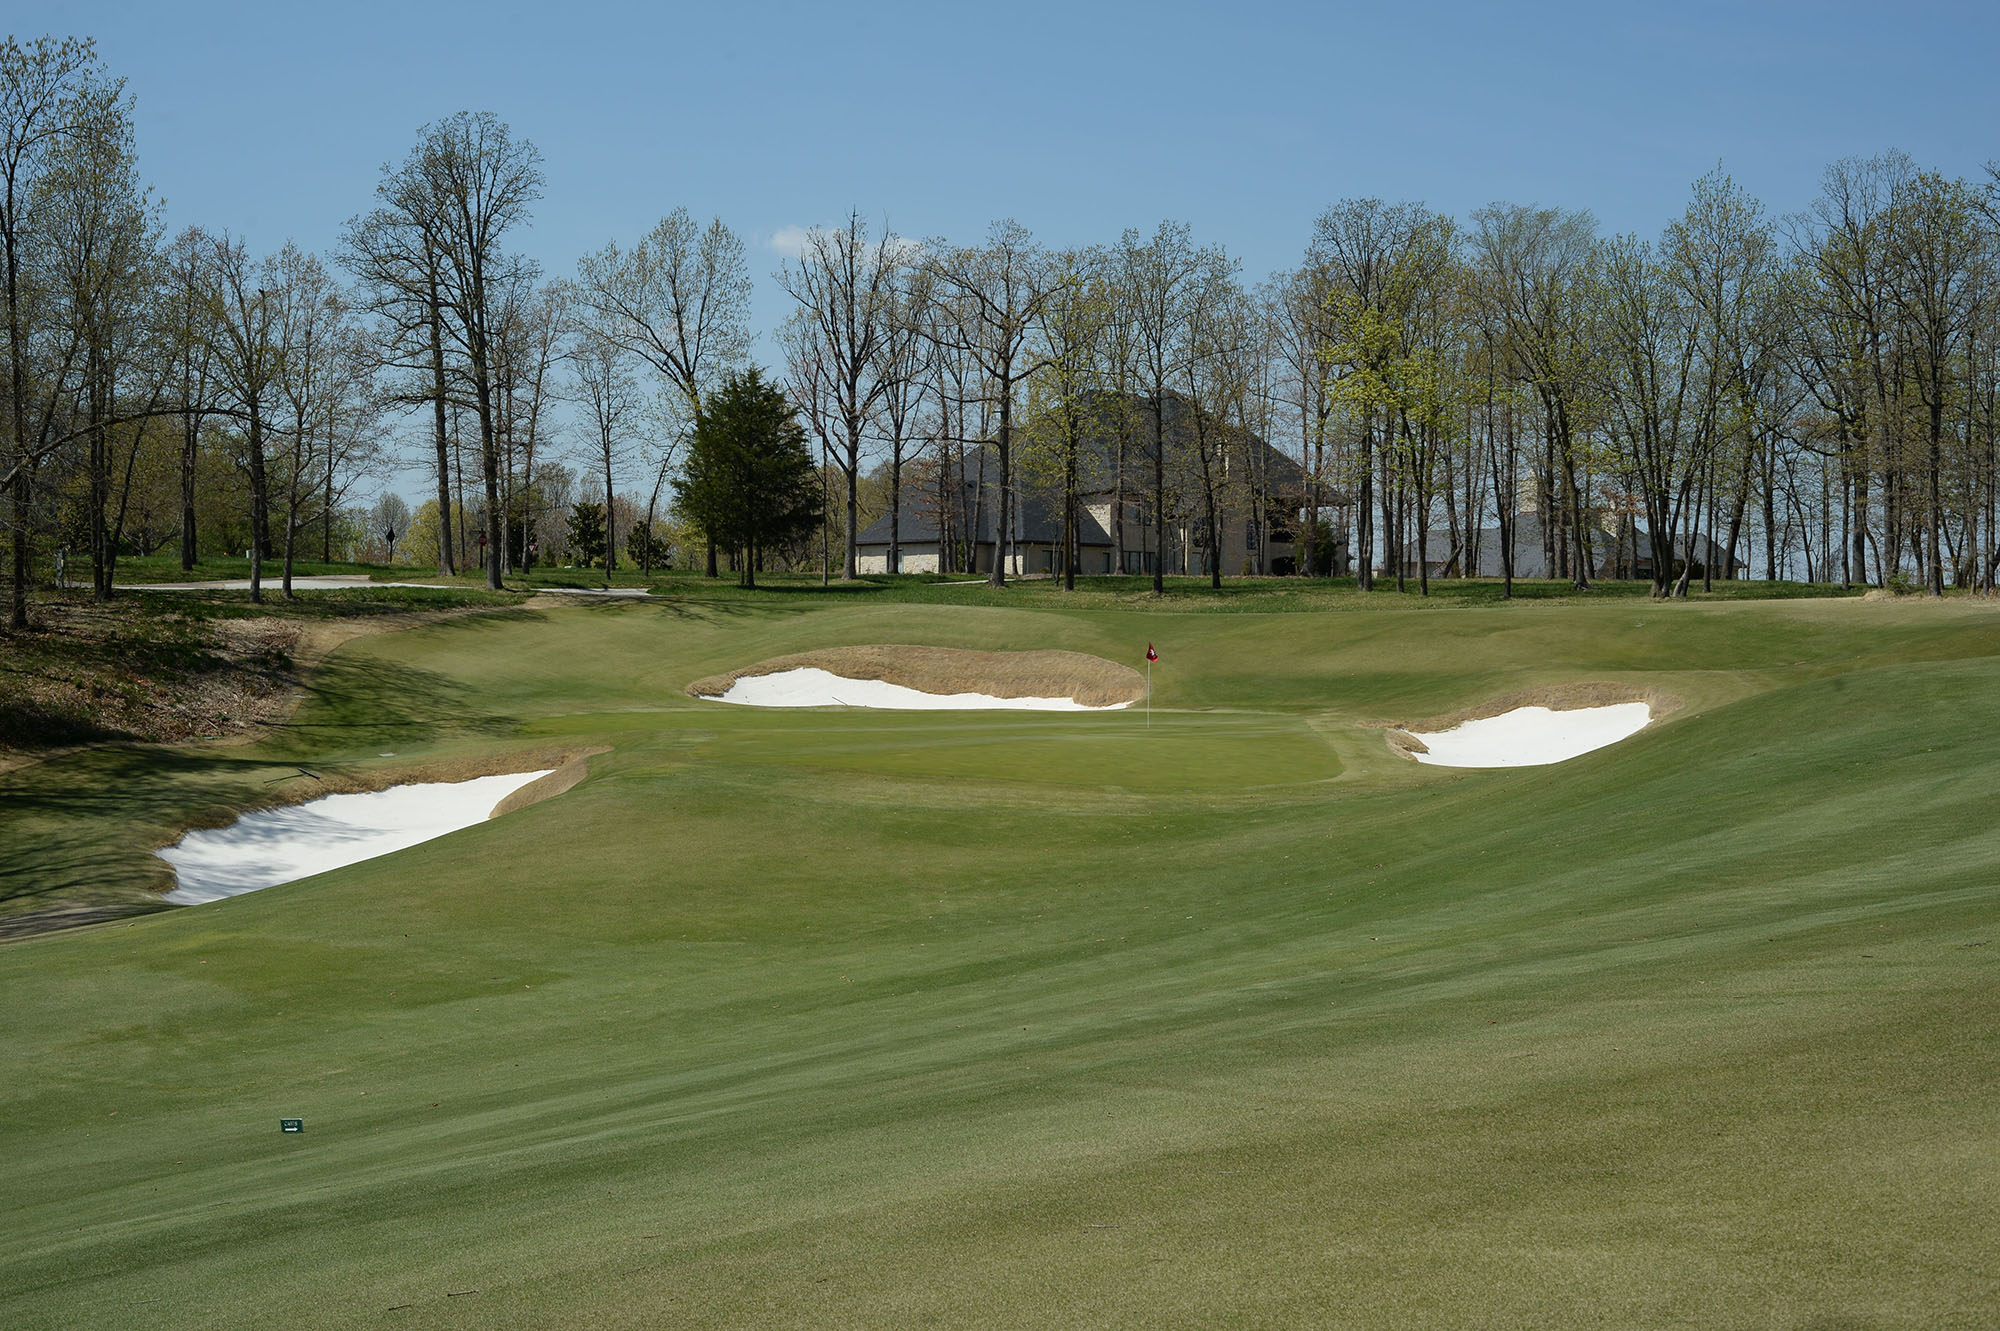
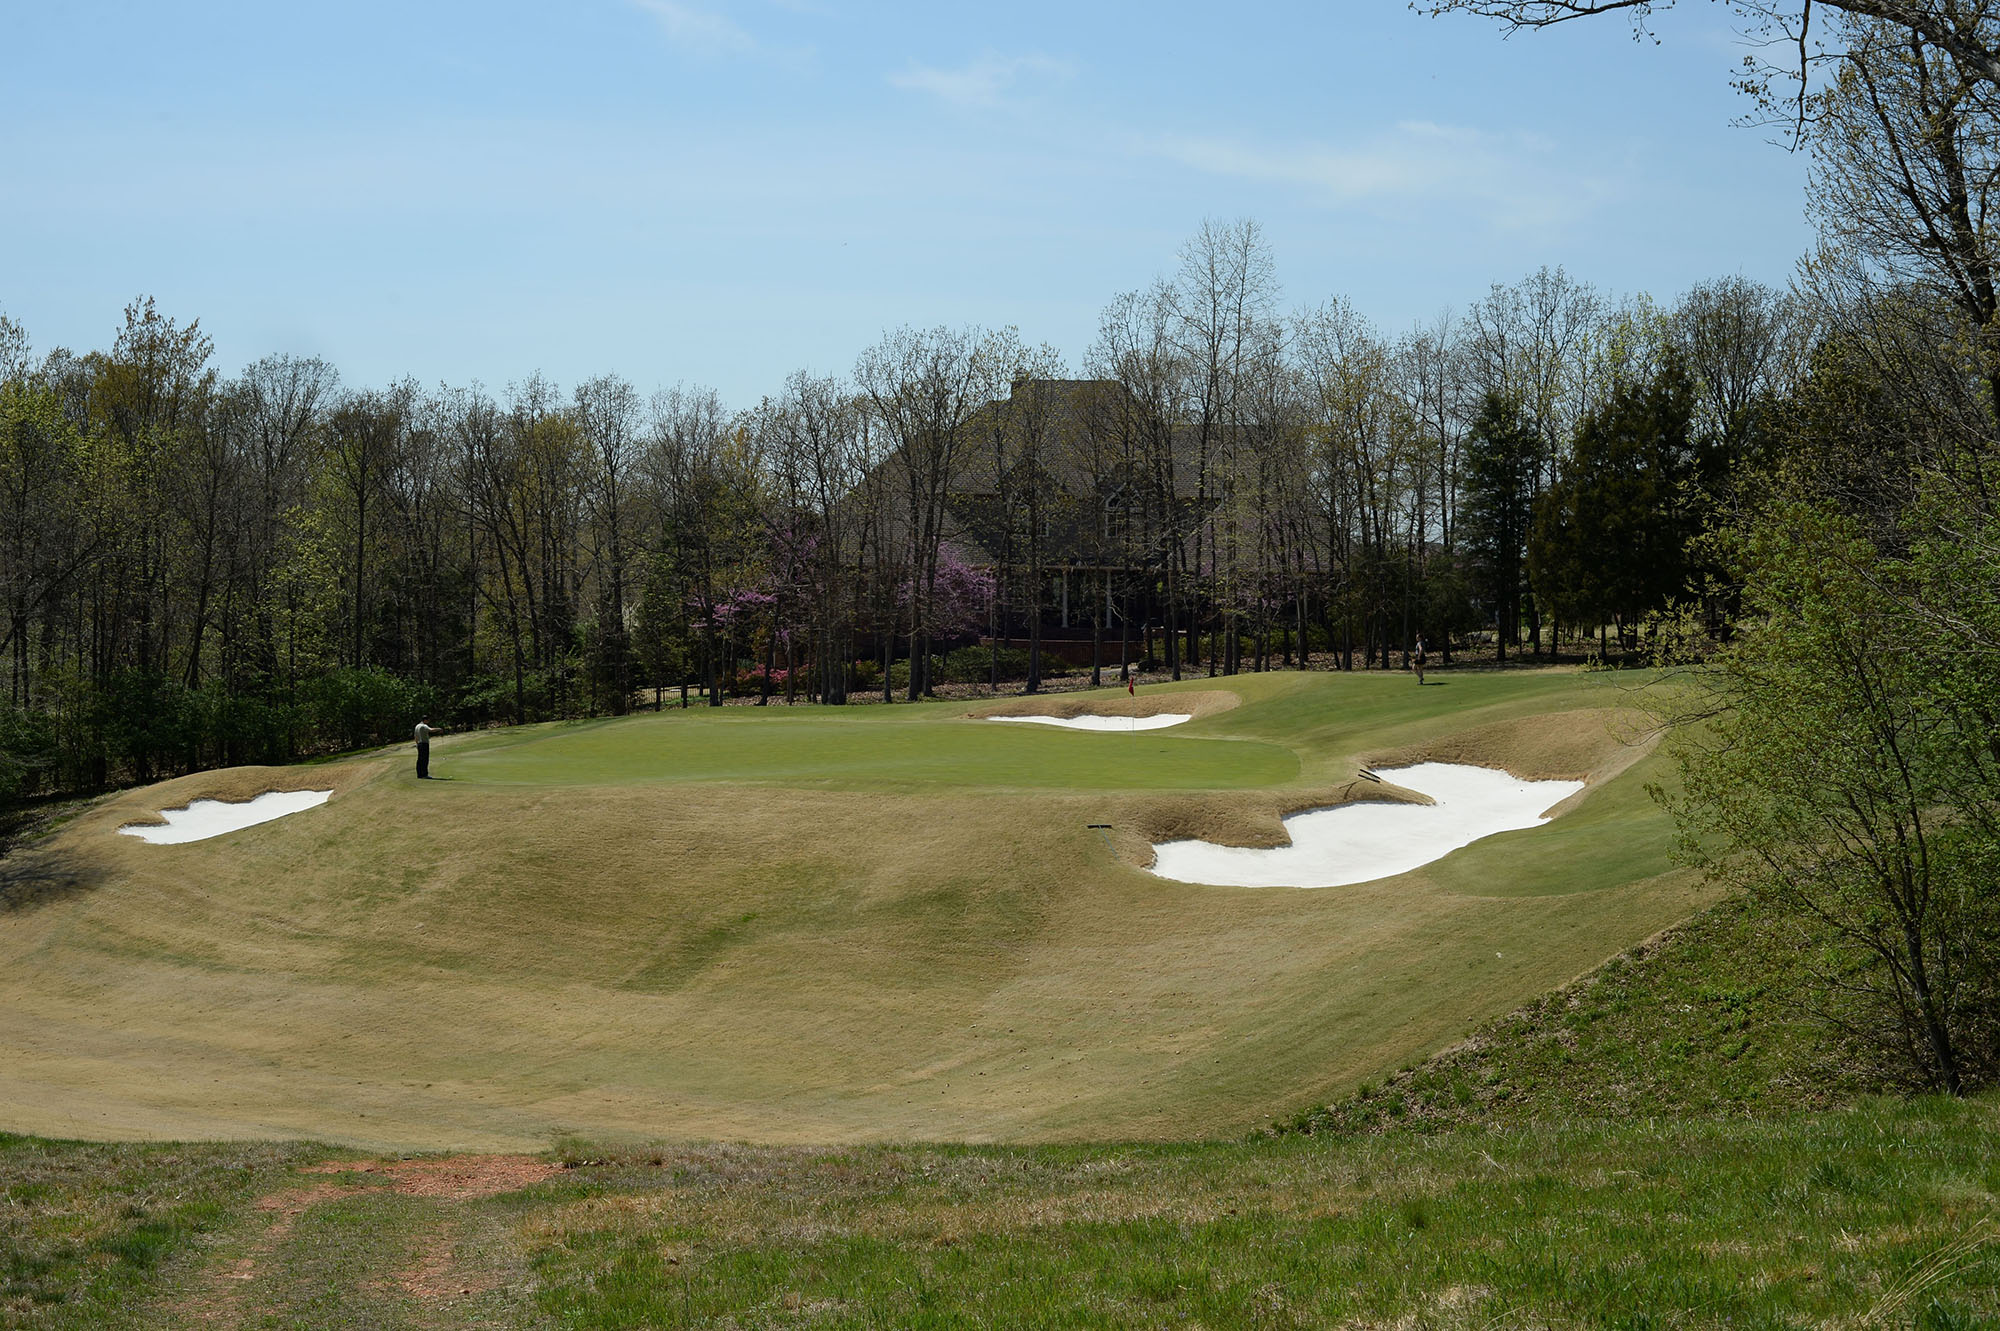
Hole 9
This par 4 plays significantly uphill and requires a strategically placed tee shot to successfully negotiate the fairway bunkering and to provide the optimum angle of play. The deepest bunkers on the course protect the putting surface.
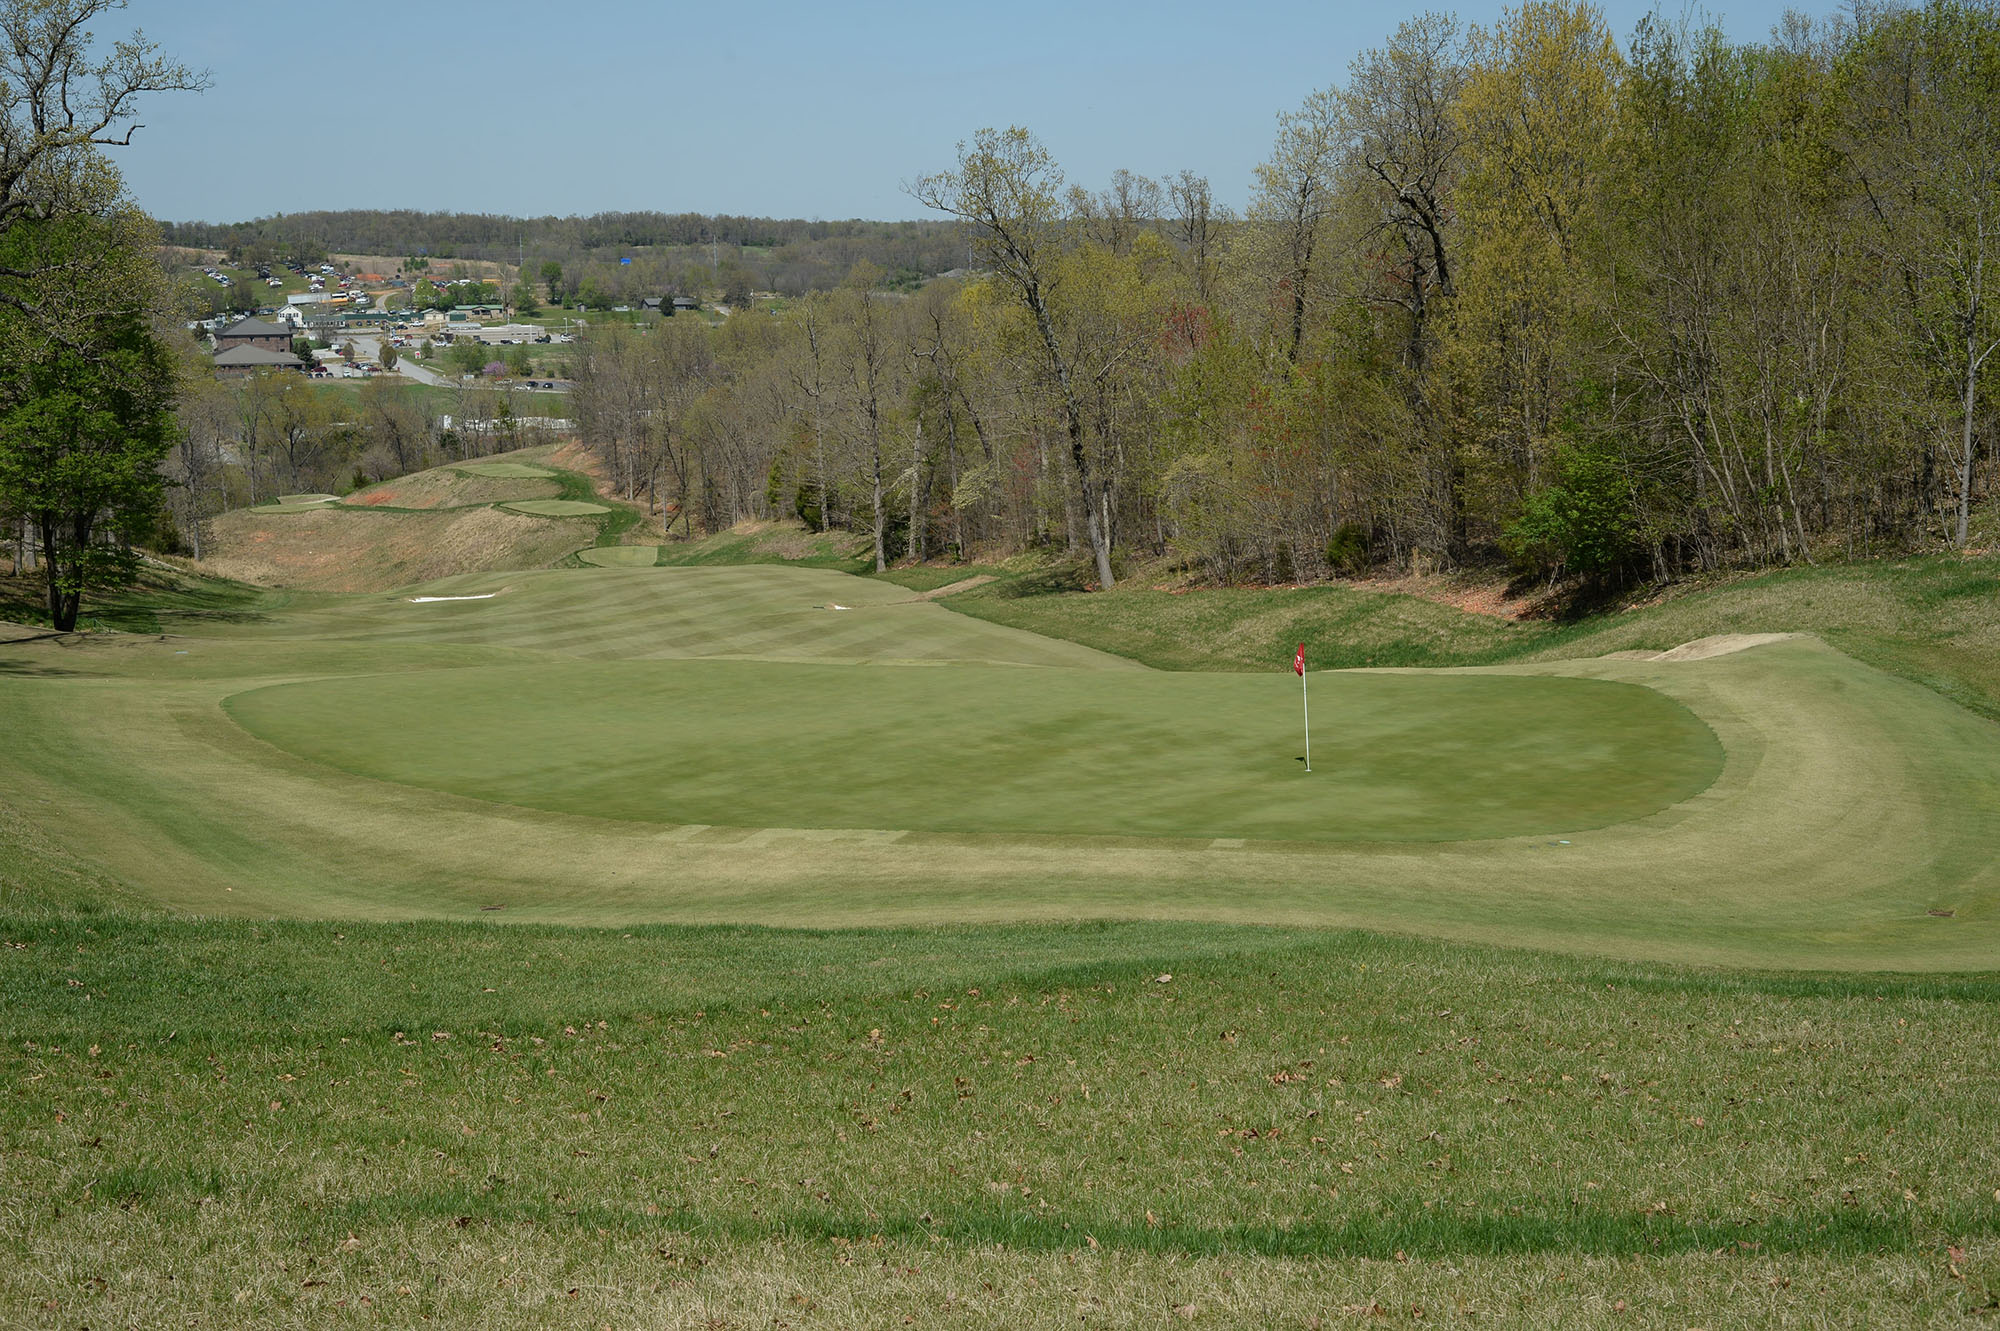
Hole 10
The back nine starts with a par 5 that plays across ravines that must be negotiated on each shot. A speed slot down the right side of the fairway off the tee will provide additional roll and the possibility of reaching the putting surface on the second shot.
Hole 11
This short par 4 bends slightly to the right away from a grove of pines. Position off the tee is important to provide players the correct angle for the approach. The unique green has plenty of slope and tough hole locations.
Hole 12
The sharp dogleg right par 4 plays slightly downhill from the left tee and back uphill into the green. The green is surrounded by bunkers and features a false front and a lower back section of the putting surface.
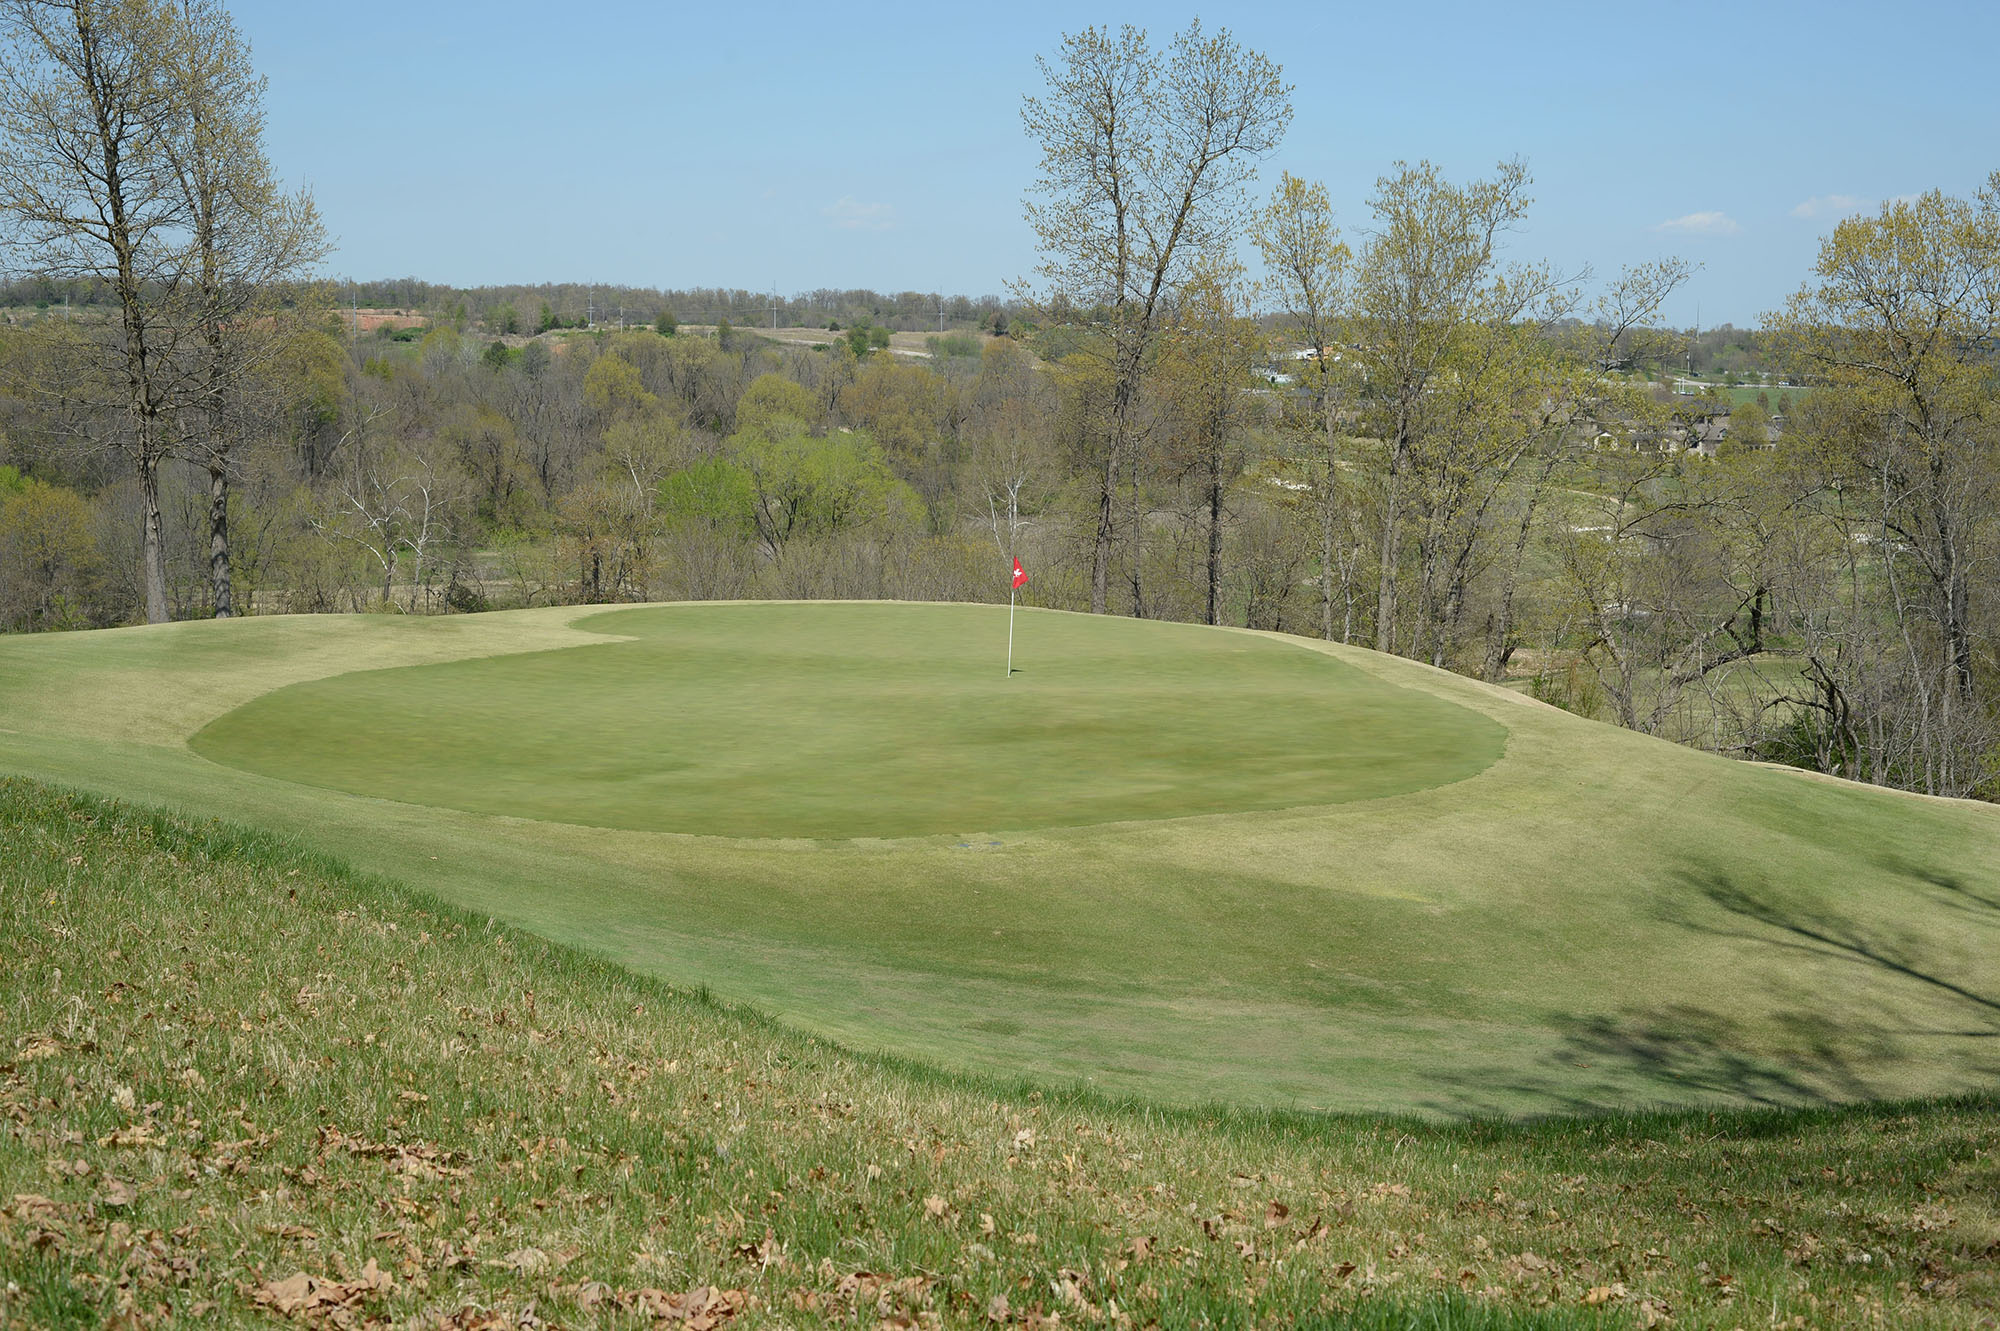
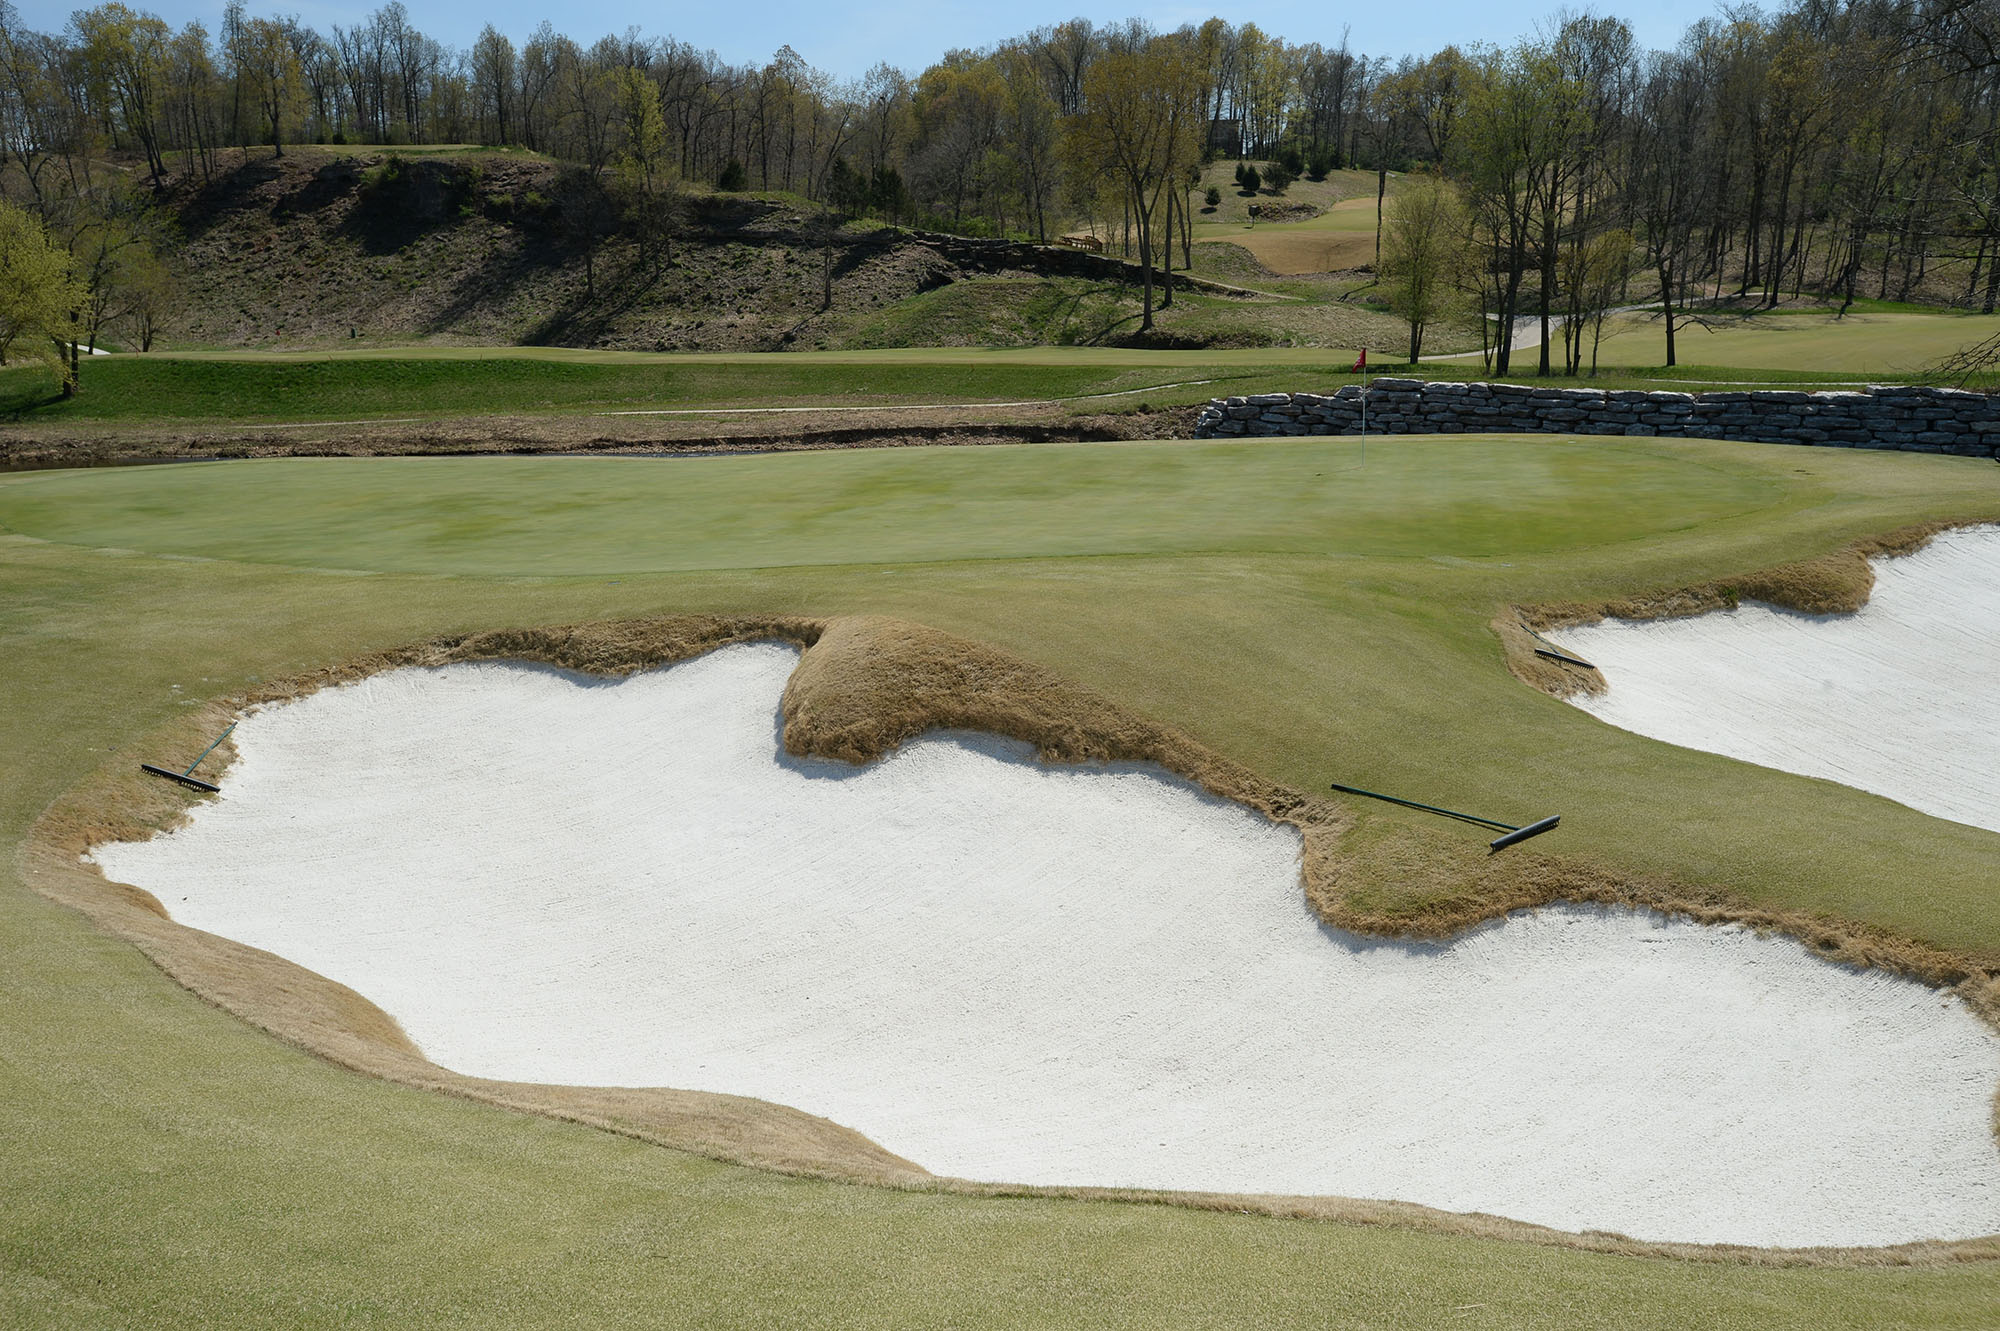
Hole 13
This par 3 is the longest on the course and requires a carry over a ravine to a putting surface with three distinct levels. Putting from the wrong level can present major challenges.
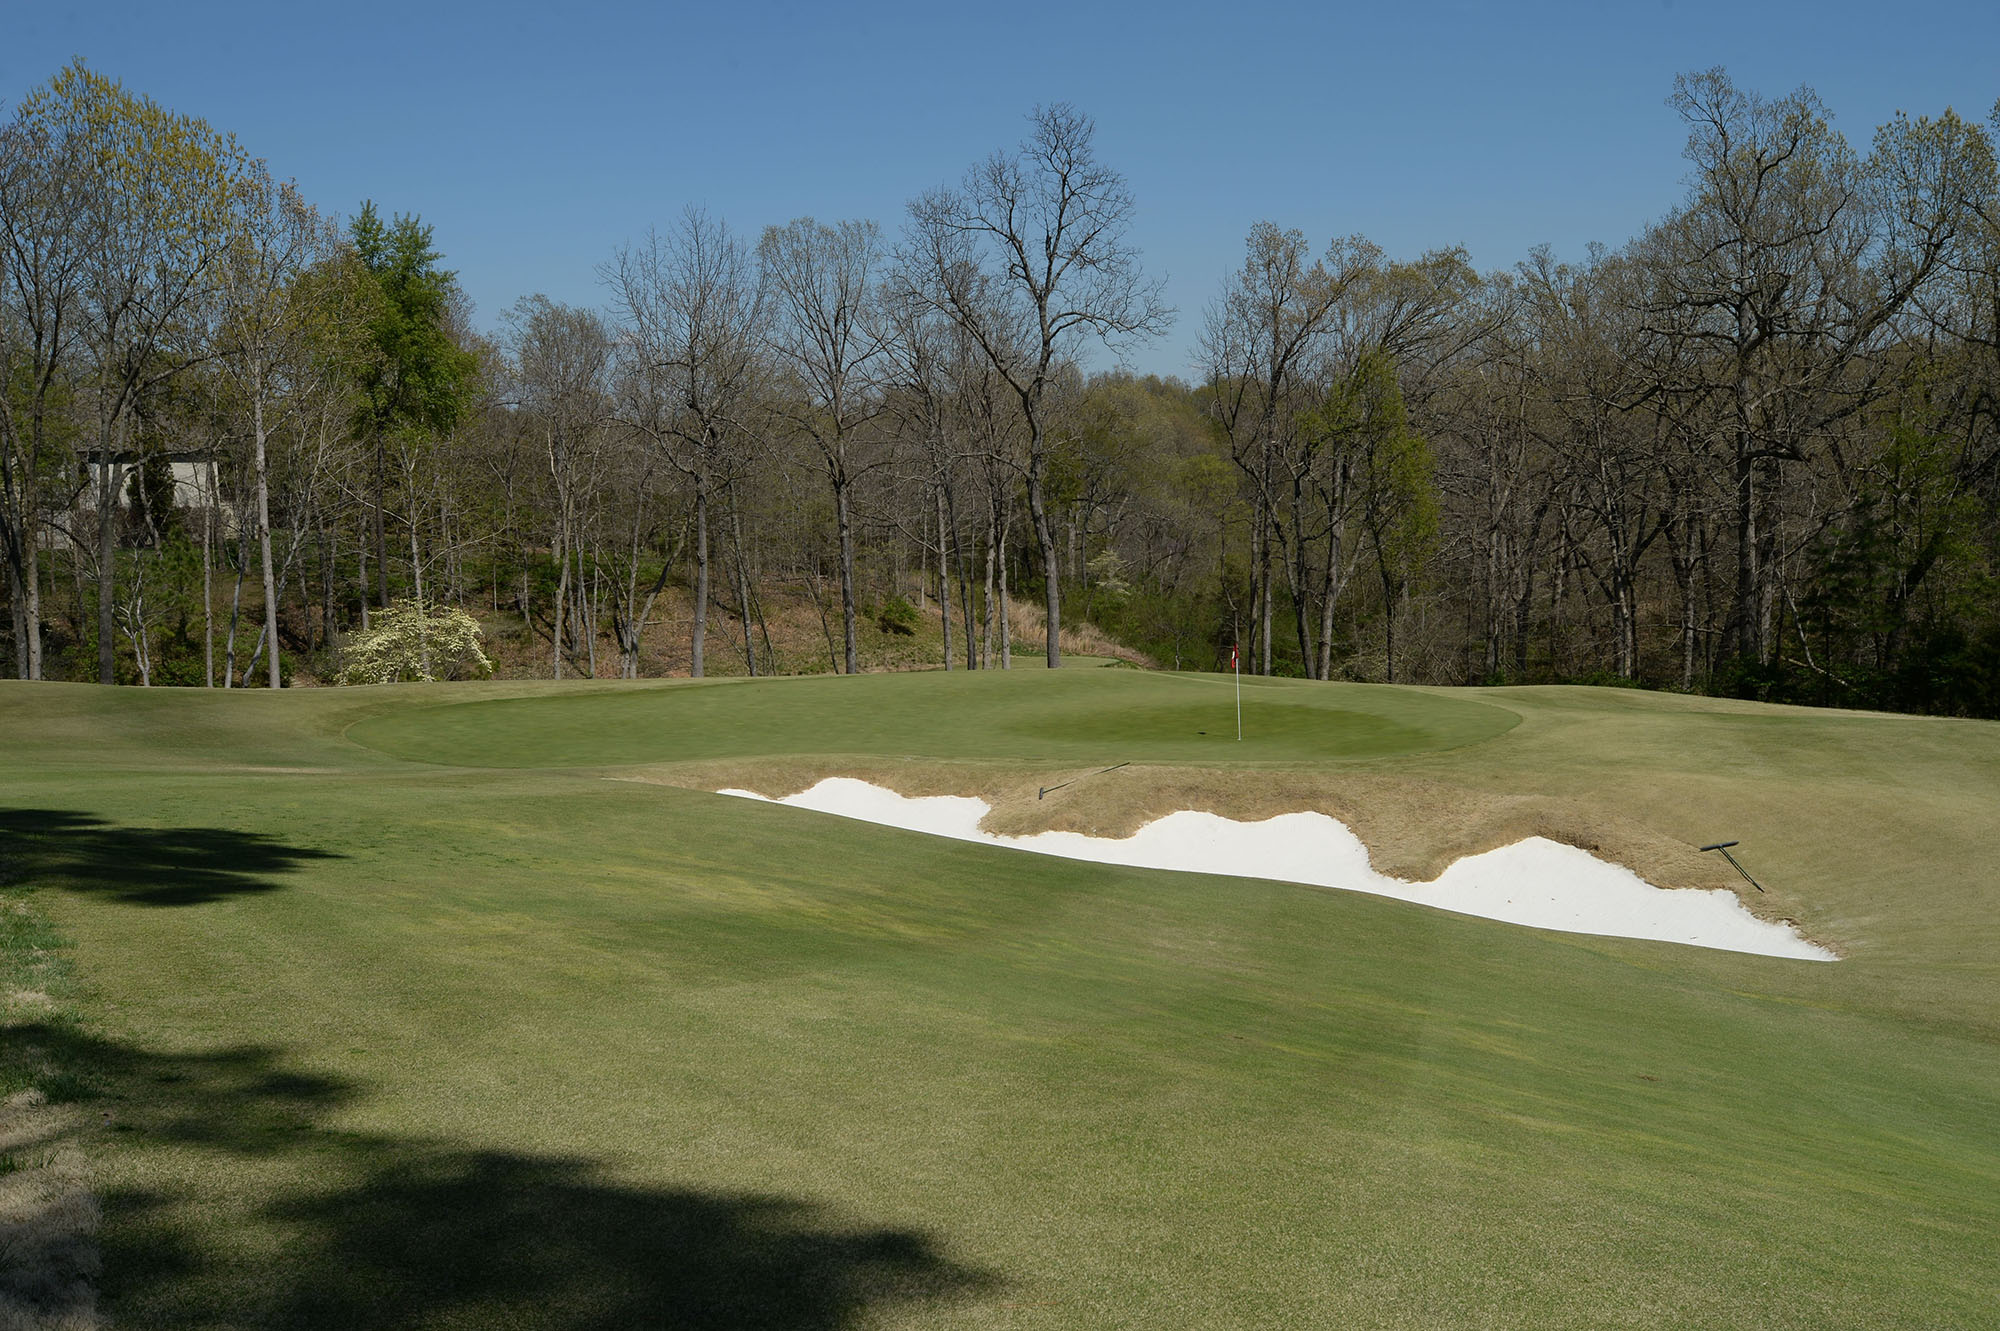
Hole 14
The long par 4 plays significantly downhill and provides the best views on the course. Players trying to cut the corner of the dogleg off the tee will need a properly flighted tee shot across the ravine and over the bunkers to a narrow landing area. The wide, sloping green is protected by a ravine and bunker in the front and a steep cliff behind the green.
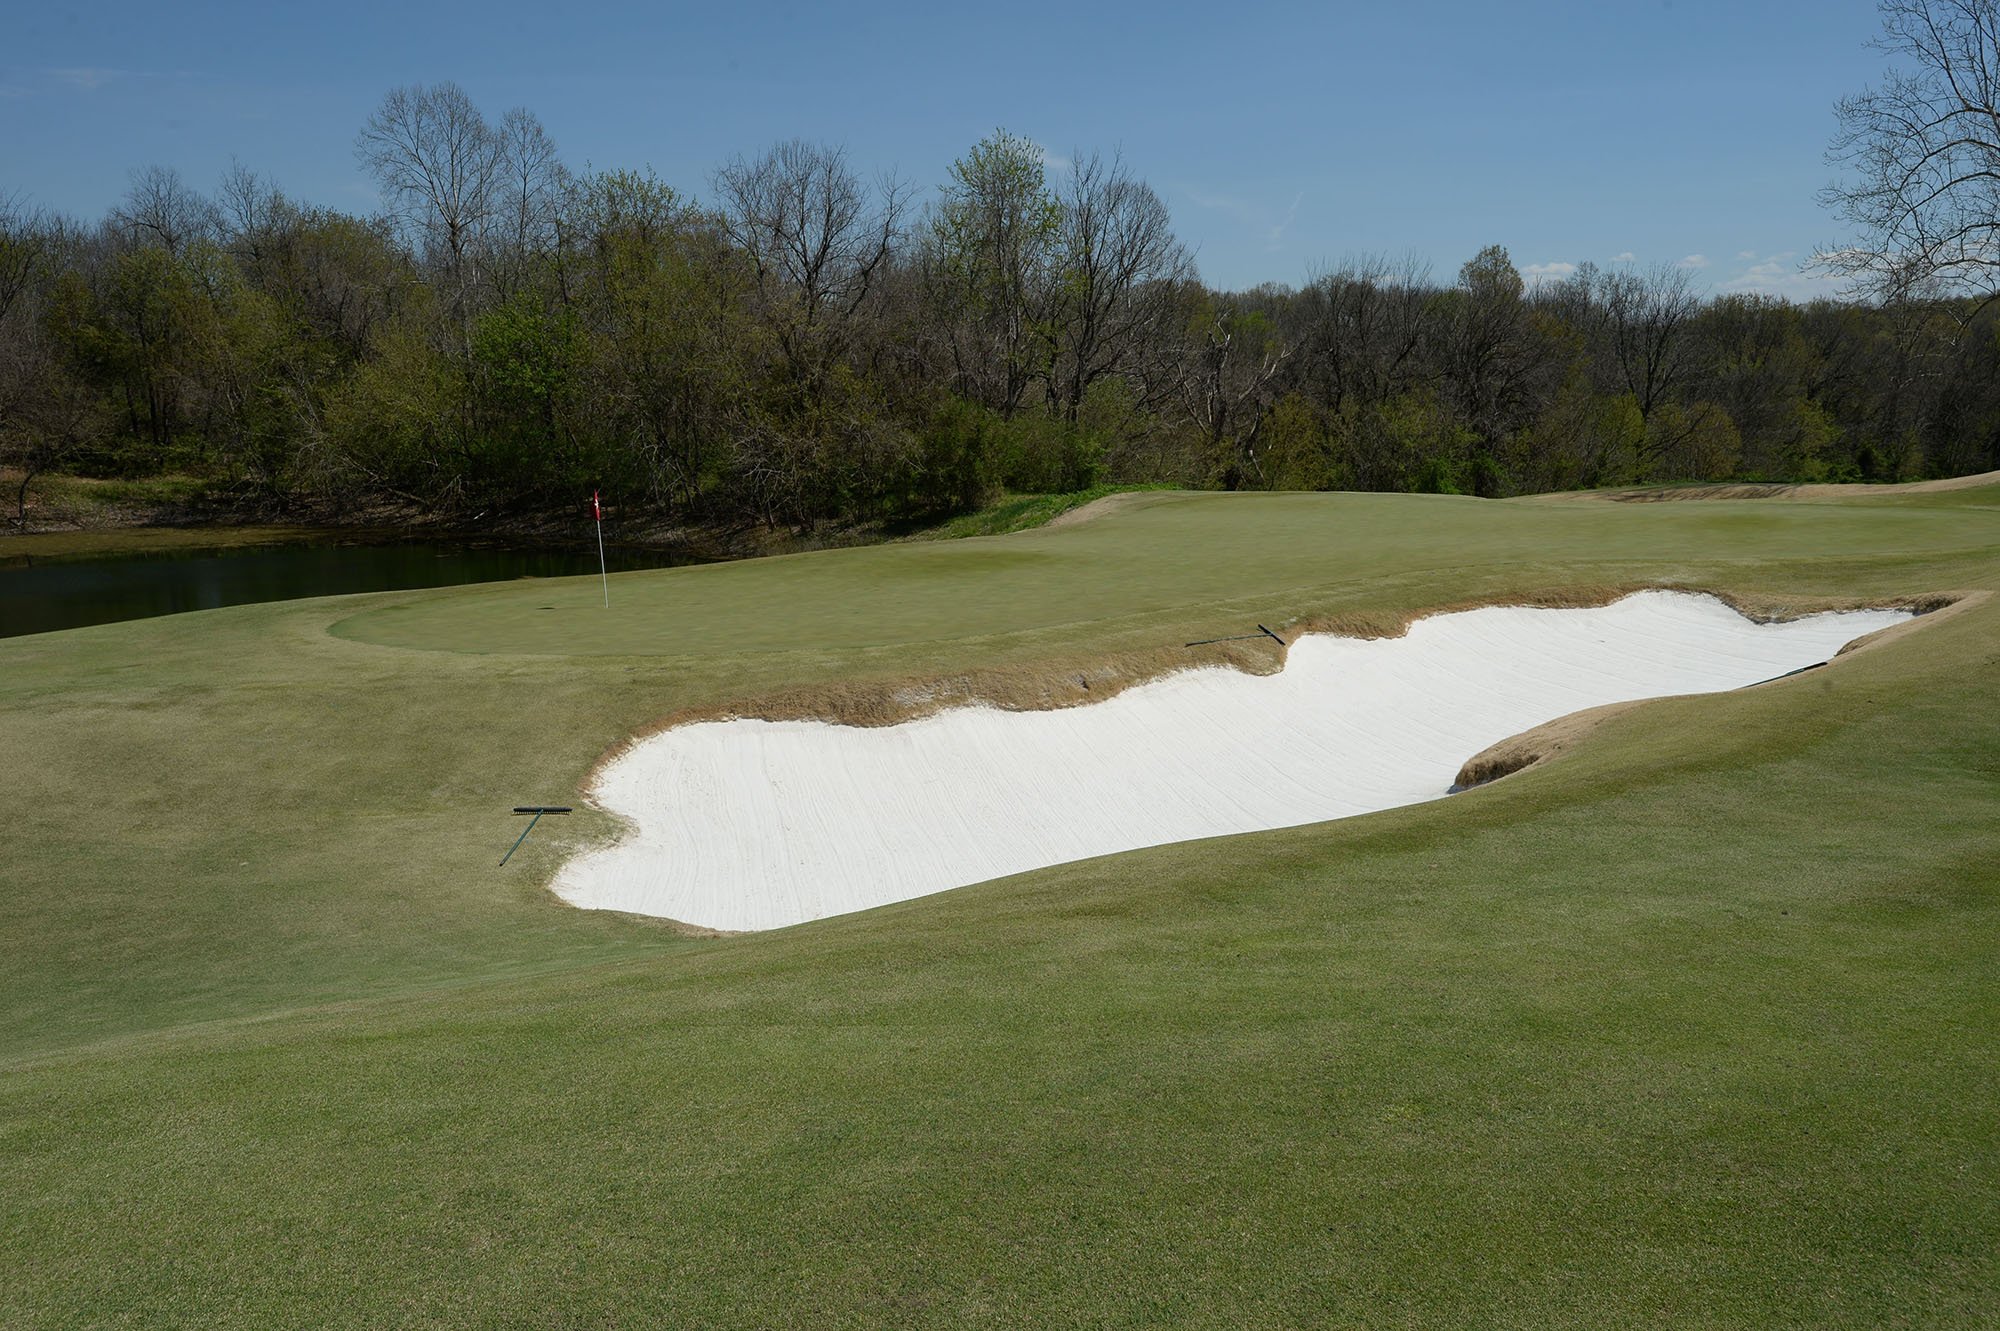
Hole 15
Hole 15 is a risk-reward par 5. The tee shot plays downhill to a landing area that features a tree in the middle of the fairway. A properly positioned tee shot left of the tree will open an angle to run the ball onto the green with the second shot. The large green has a wide variety of interesting hole locations with a deep collection area to the right and a 20-foot-tall rock wall dropping into Clear Creek to the left.
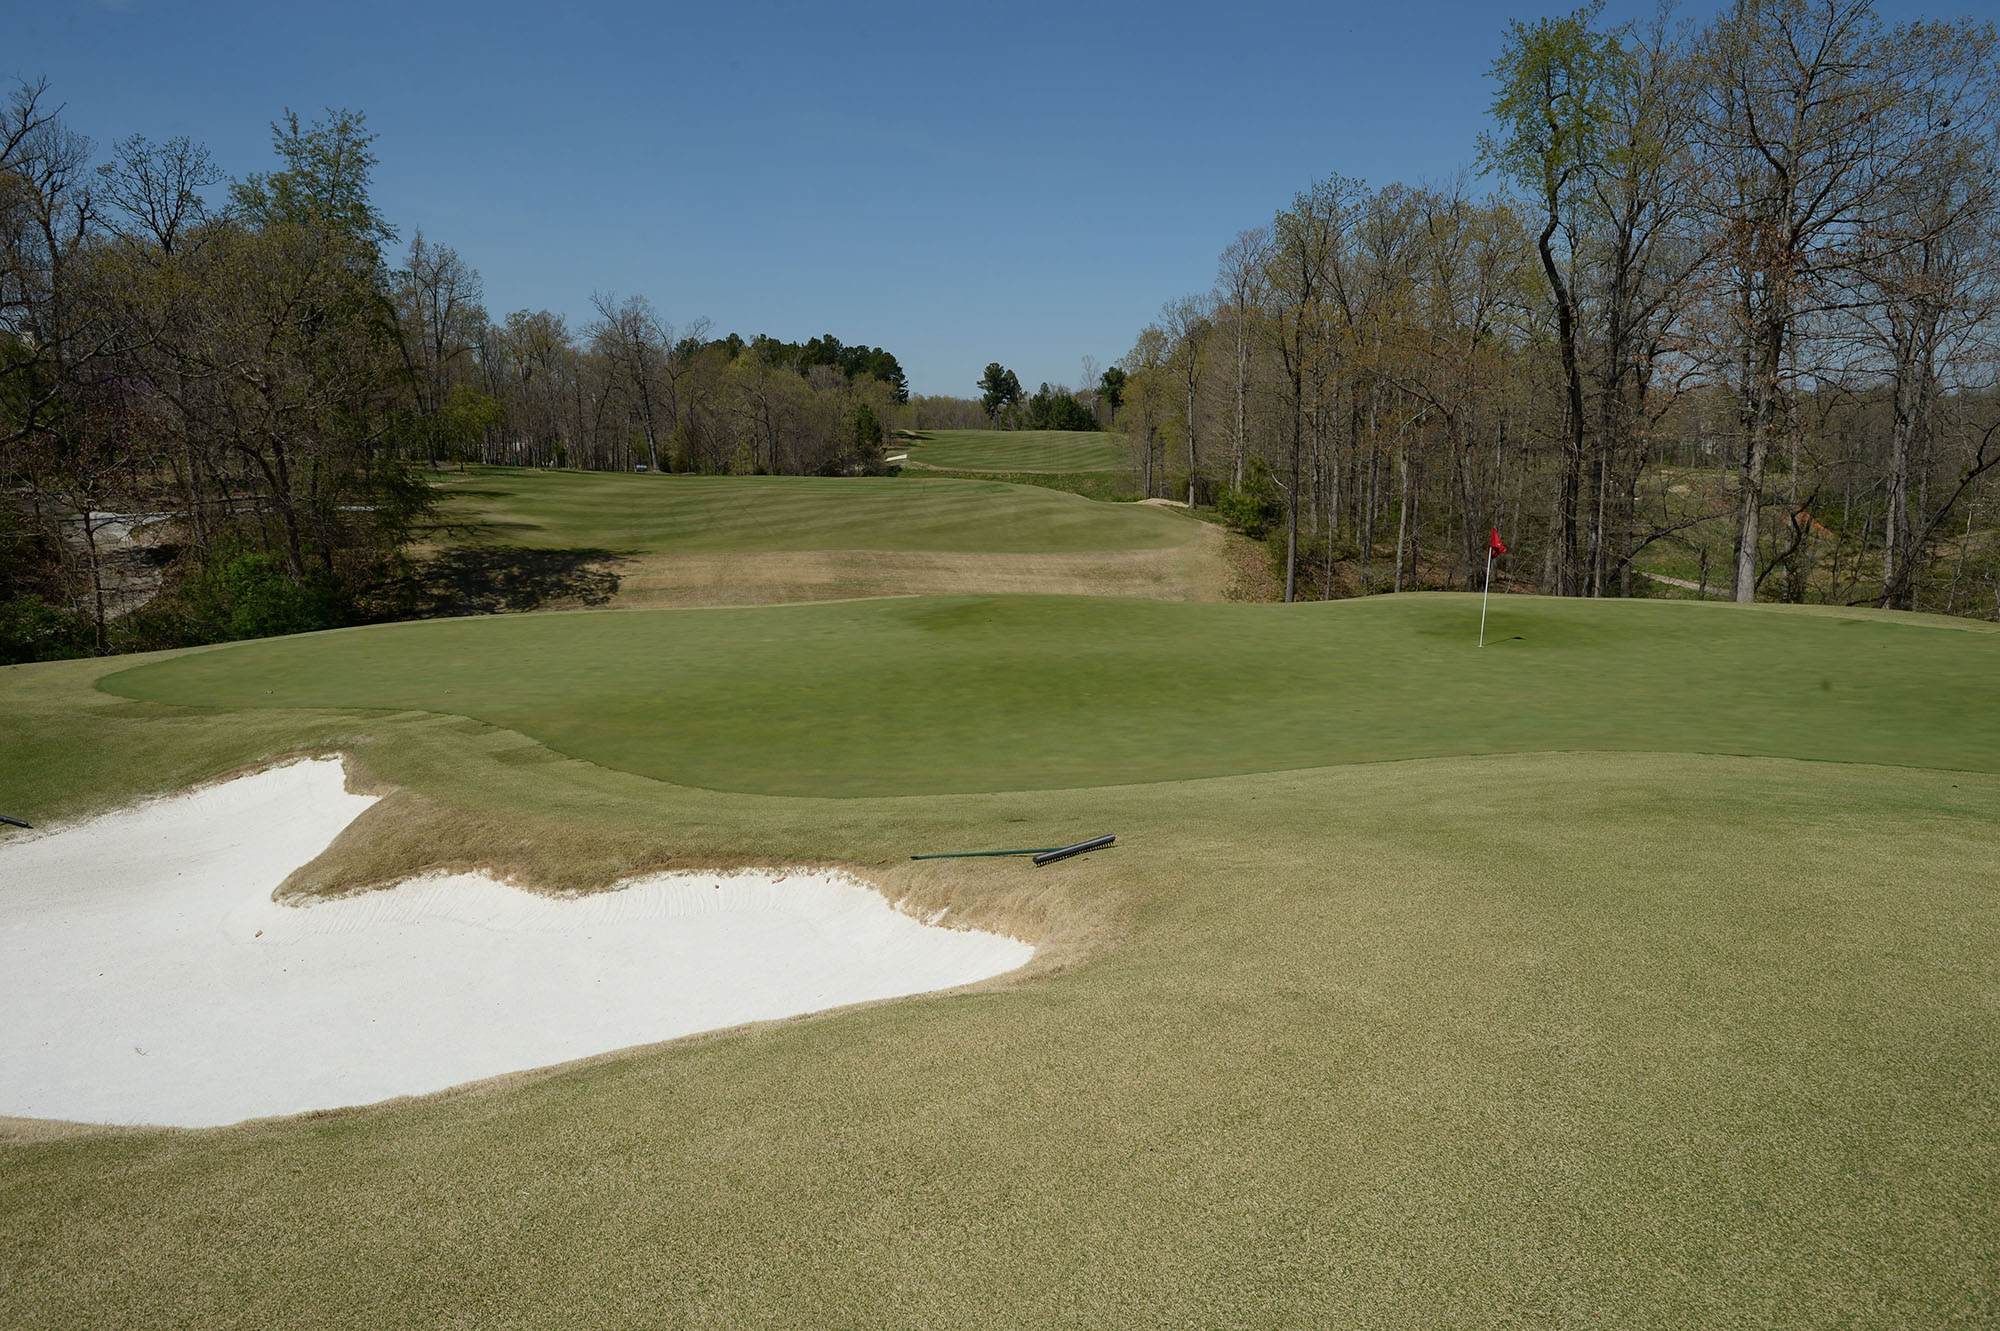
Hole 16
This long par 4 starts a challenging three-hole stretch back to the clubhouse. A well-positioned tee shot will allow the proper approach angle into the green. The green drops off into collection areas in the front, right and over the green. Balls landing too far left on the green will roll off into a sand bunker.
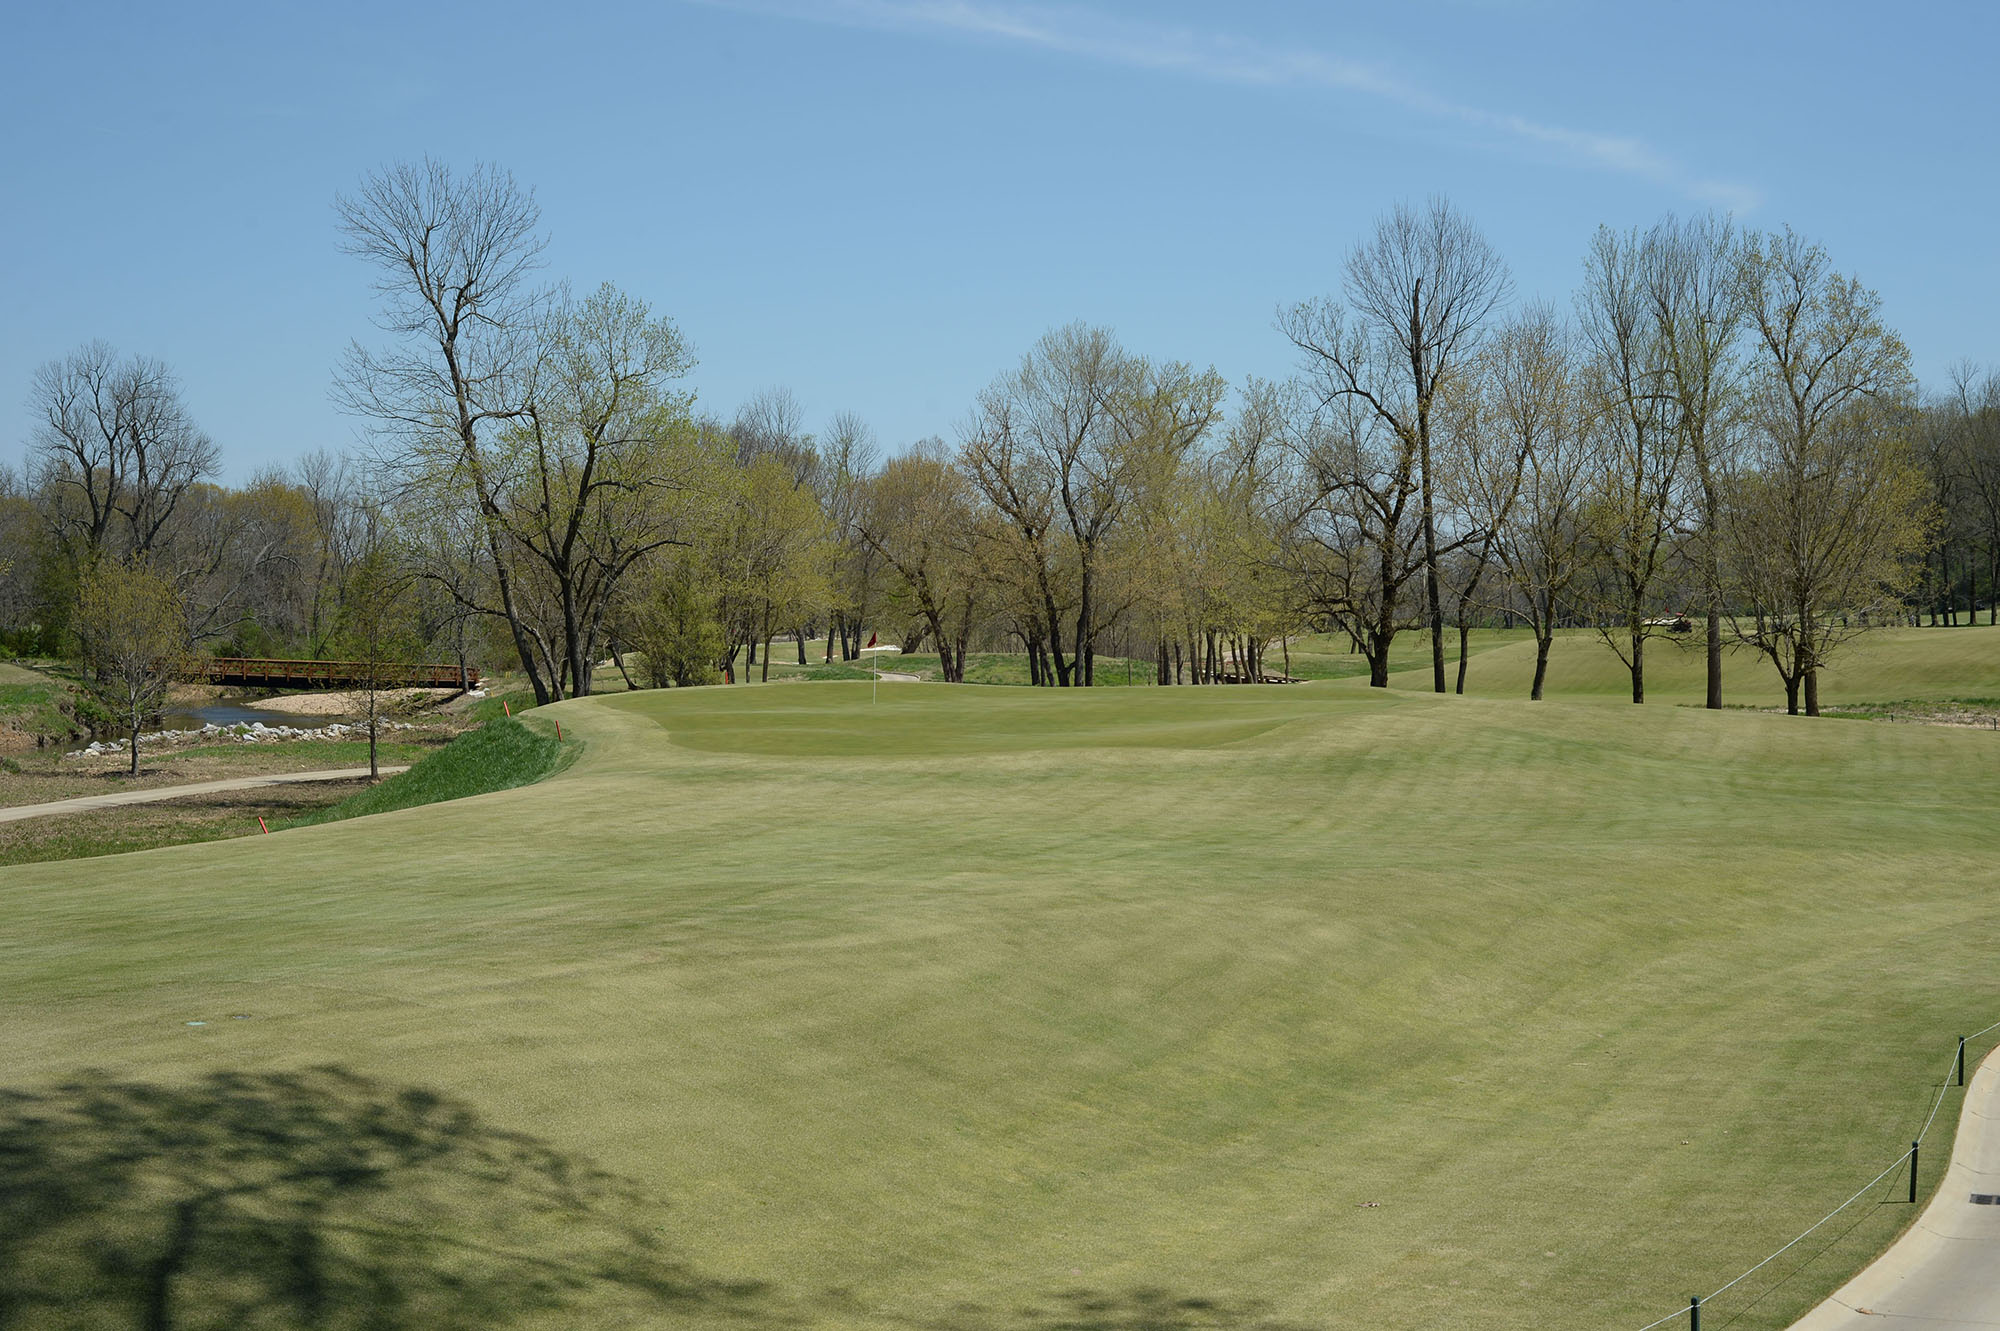
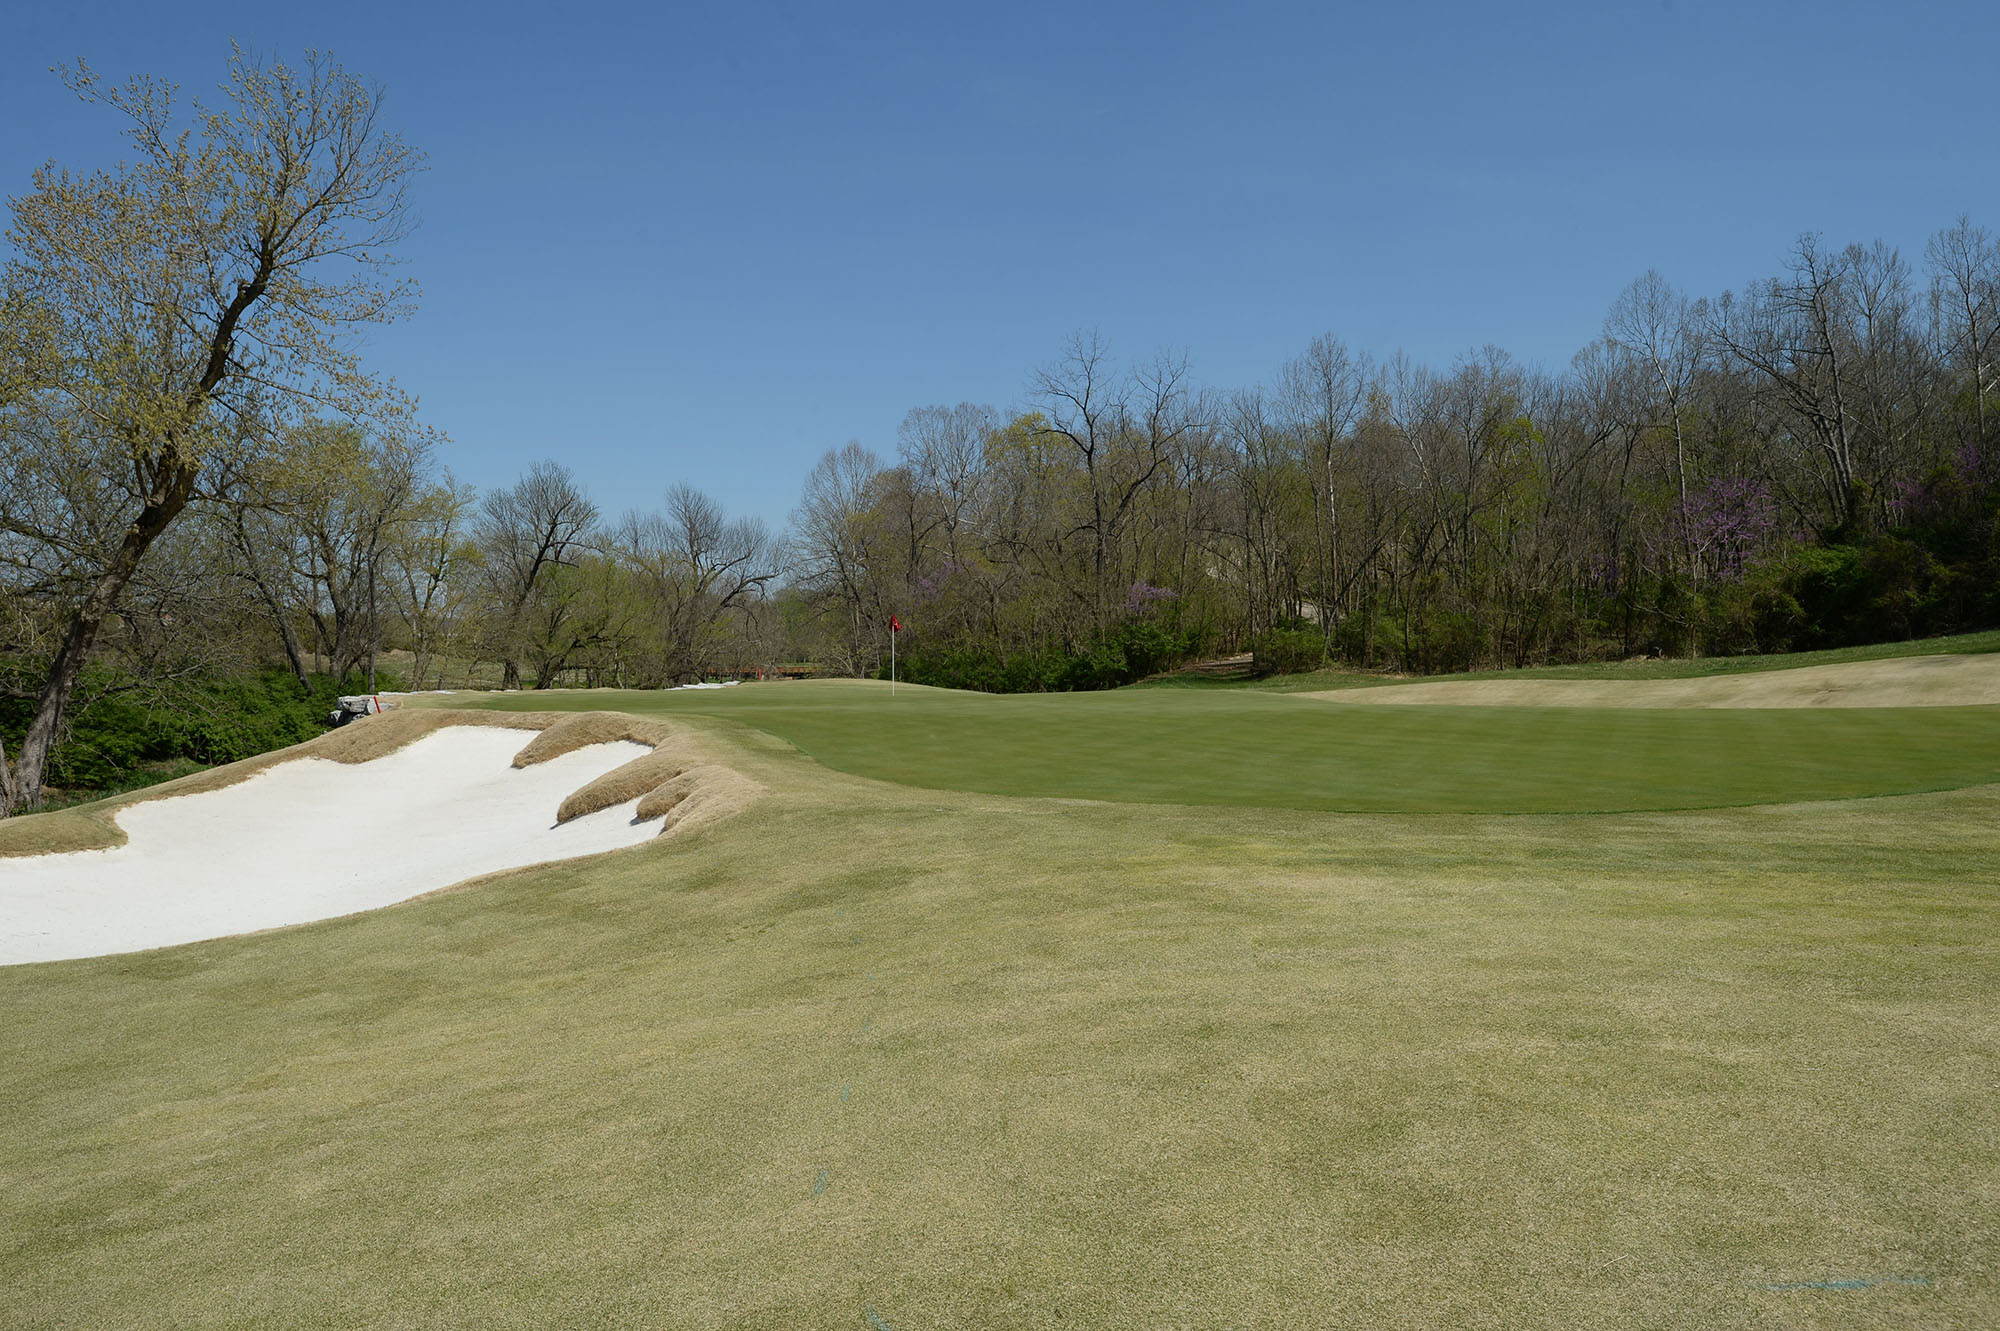
Hole 17
The last par 3 requires a tee shot along and across Clear Creek to a green situated just off the creek bank. The prevailing wind blows into the golfer and off the creek, requiring the golfer to match the proper line and distance on the shot into the narrow, angled green.
Hole 18
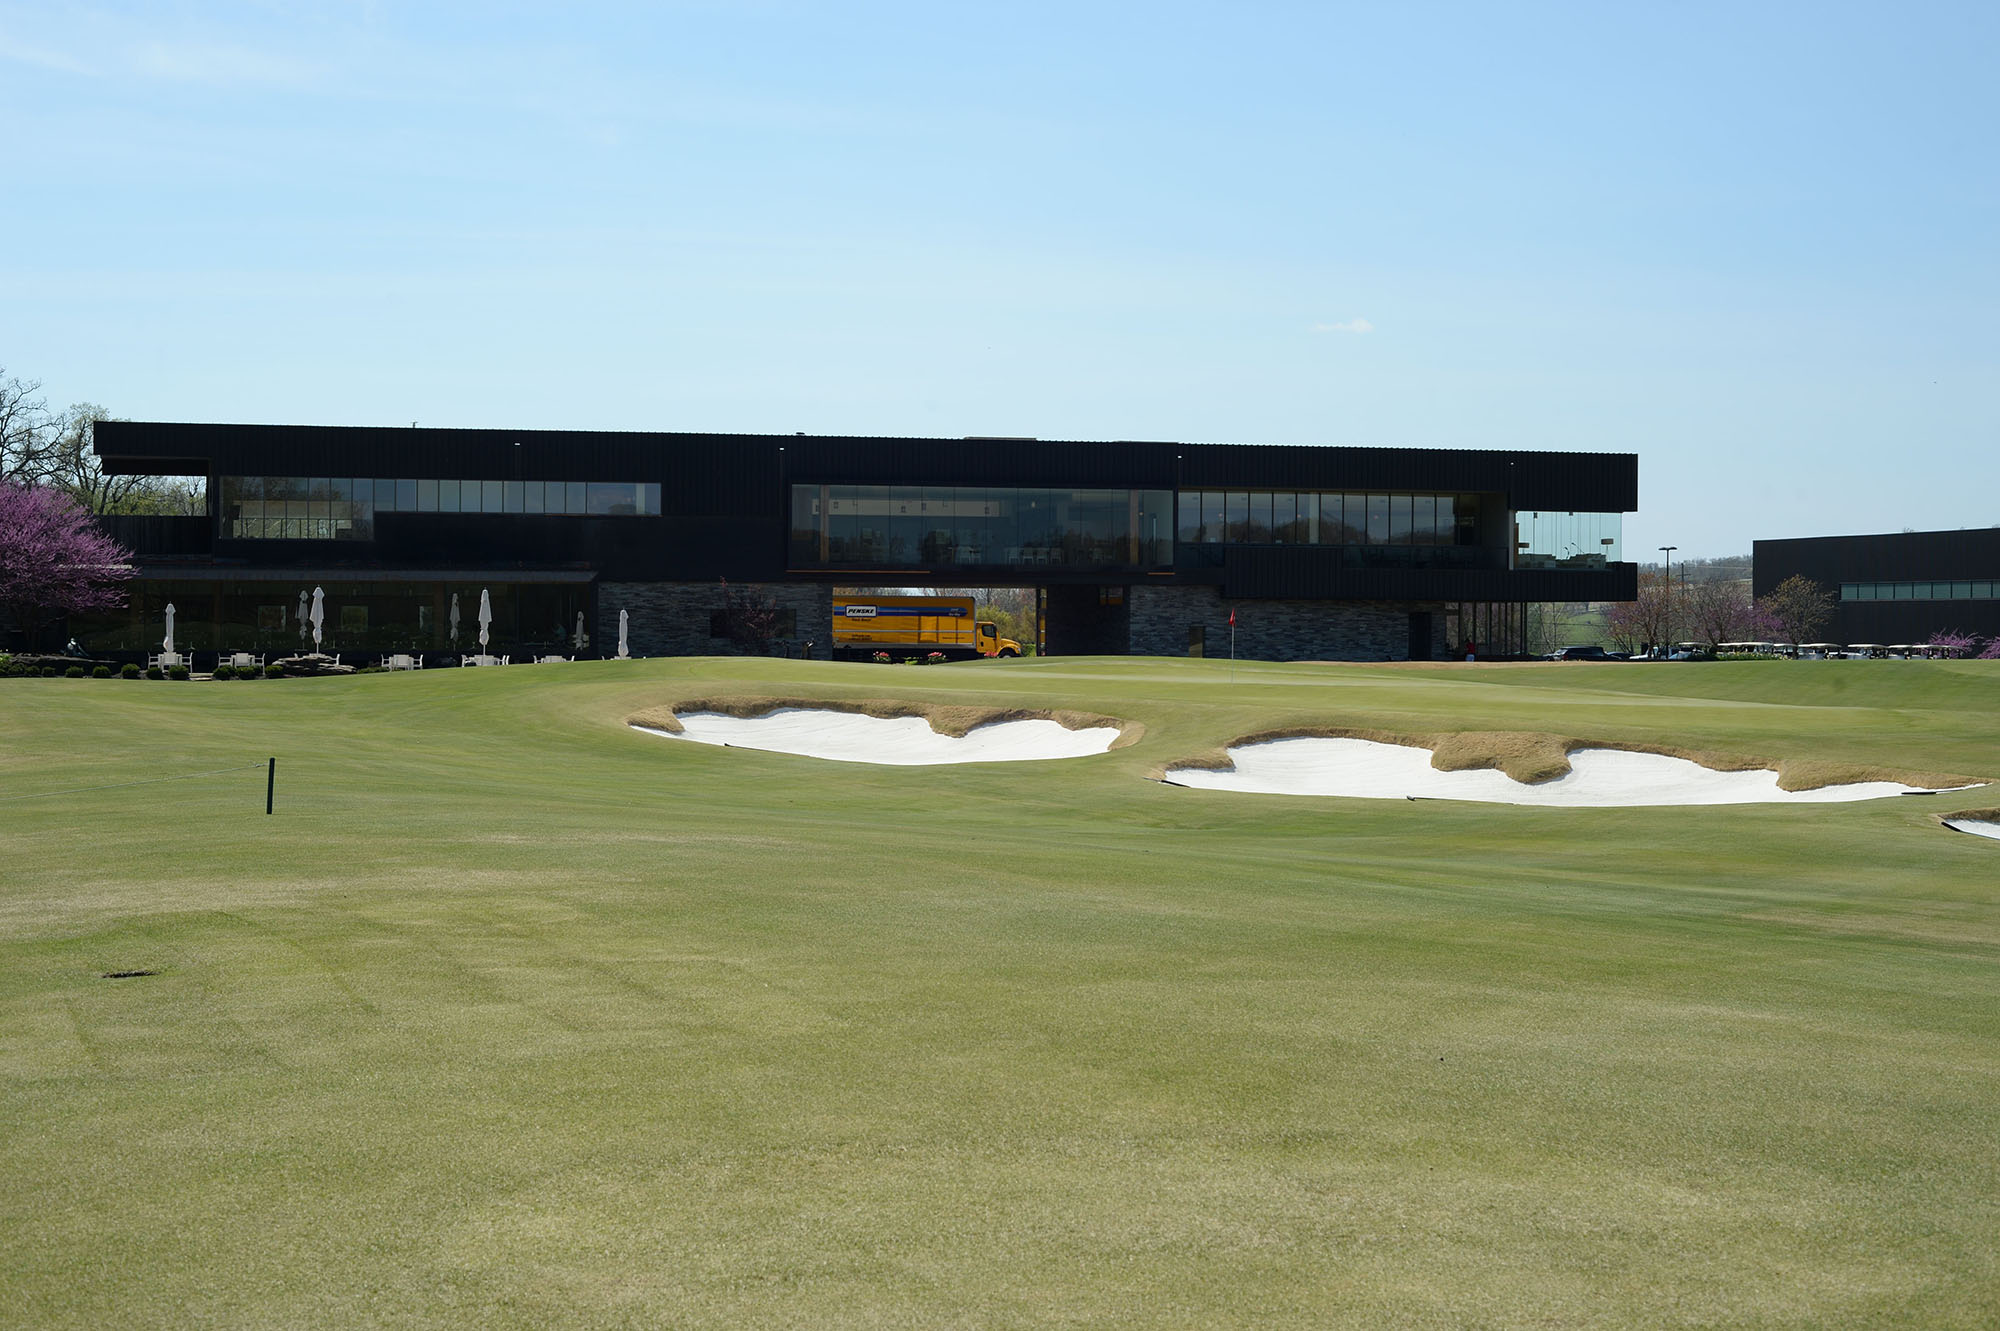
The final par 4 is one of the most notable on the course. A properly played tee shot must carry Clear Creek and a wetlands area, to an angled fairway that is protected by several bunkers. The second shot is played uphill into a green with strategic hole locations and the backdrop of the clubhouse.